Commissions and Earnings
Free & Pro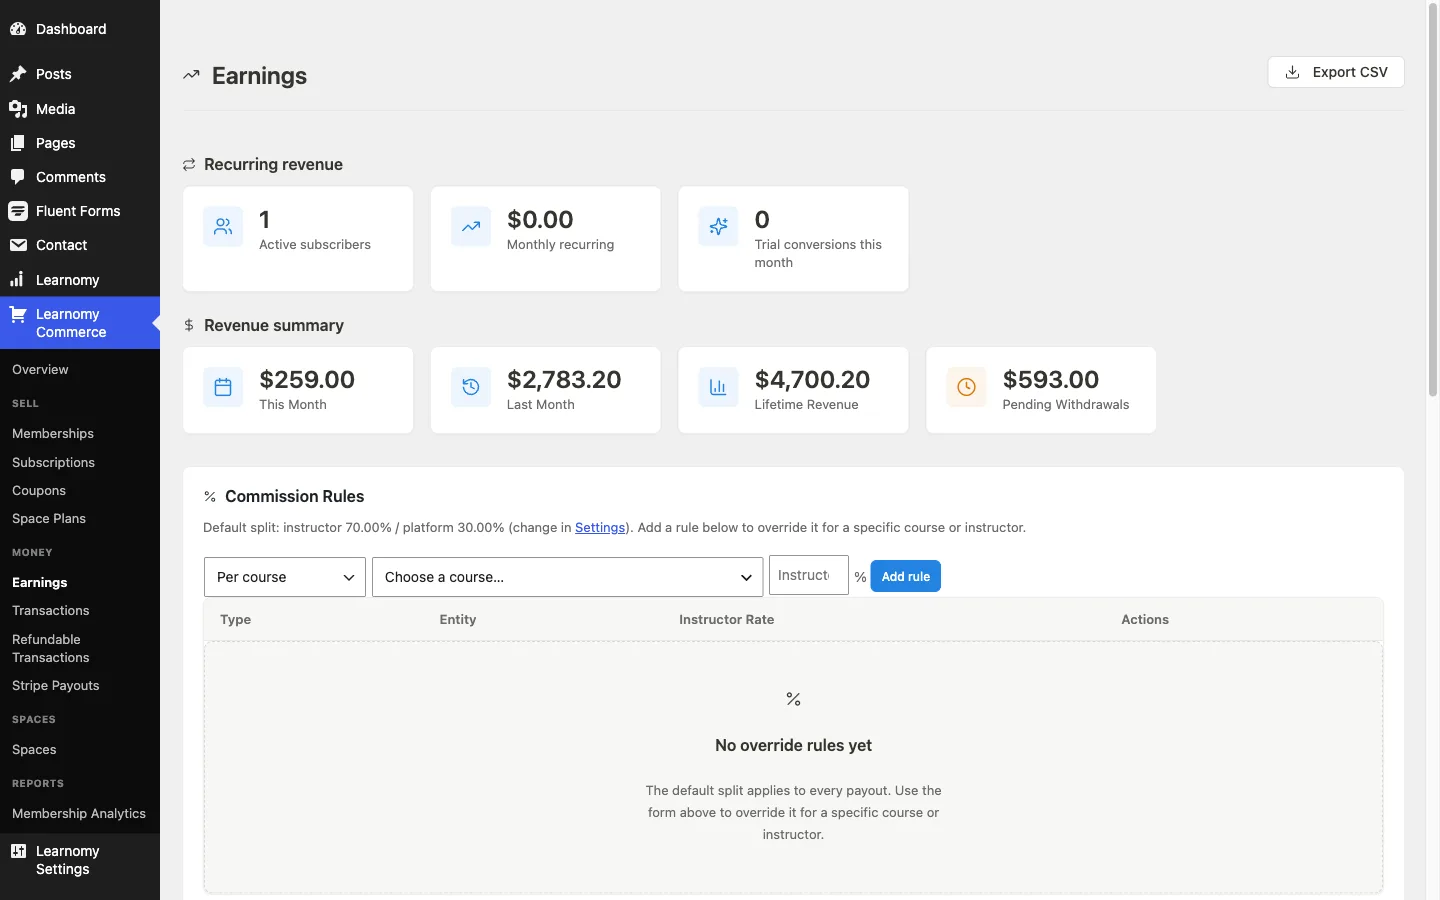
When a student pays for a course, Learnomy splits the revenue between the instructor and the platform. This page explains how that split is calculated, how instructors track their earnings, and how withdrawal requests work.
Overview
Commission rules live at LMS Commerce > Earnings (?page=learnomy-earnings). The global default split is set in Learnomy Settings > Commissions. Override rules on the Earnings page let you give specific courses or instructors a different rate.
Note: The Earnings page appears only when the Commissions module is enabled, and the LMS Commerce top-level menu only appears when at least one commerce module is active. If you don't see Earnings, enable the Commissions module on the Modules page first.
How Commission Splits Work
Every completed transaction is split using the first matching rule in this priority order:
- Per-course rule - A rule tied to a specific course overrides everything else for that course.
- Per-instructor rule (Pro) - A rule tied to a specific instructor applies to all their courses that do not have a per-course rule.
- Default split - The global rate configured in Settings applies when no override rule matches.
The instructor receives their percentage of the net base amount (the customer's payment minus any fee or tax recorded at checkout). The platform keeps the remainder.
Setting the Default Split
Go to Learnomy Settings and find the Commissions section. Enter your Platform Commission (%), the share the platform keeps from each transaction. The instructor's share is the remainder.
For example, entering 30 means the platform keeps 30% and the instructor receives 70% of every transaction. The default is 30%.
Adding Commission Override Rules
Open LMS Commerce > Earnings and scroll to the Commission Rules card.
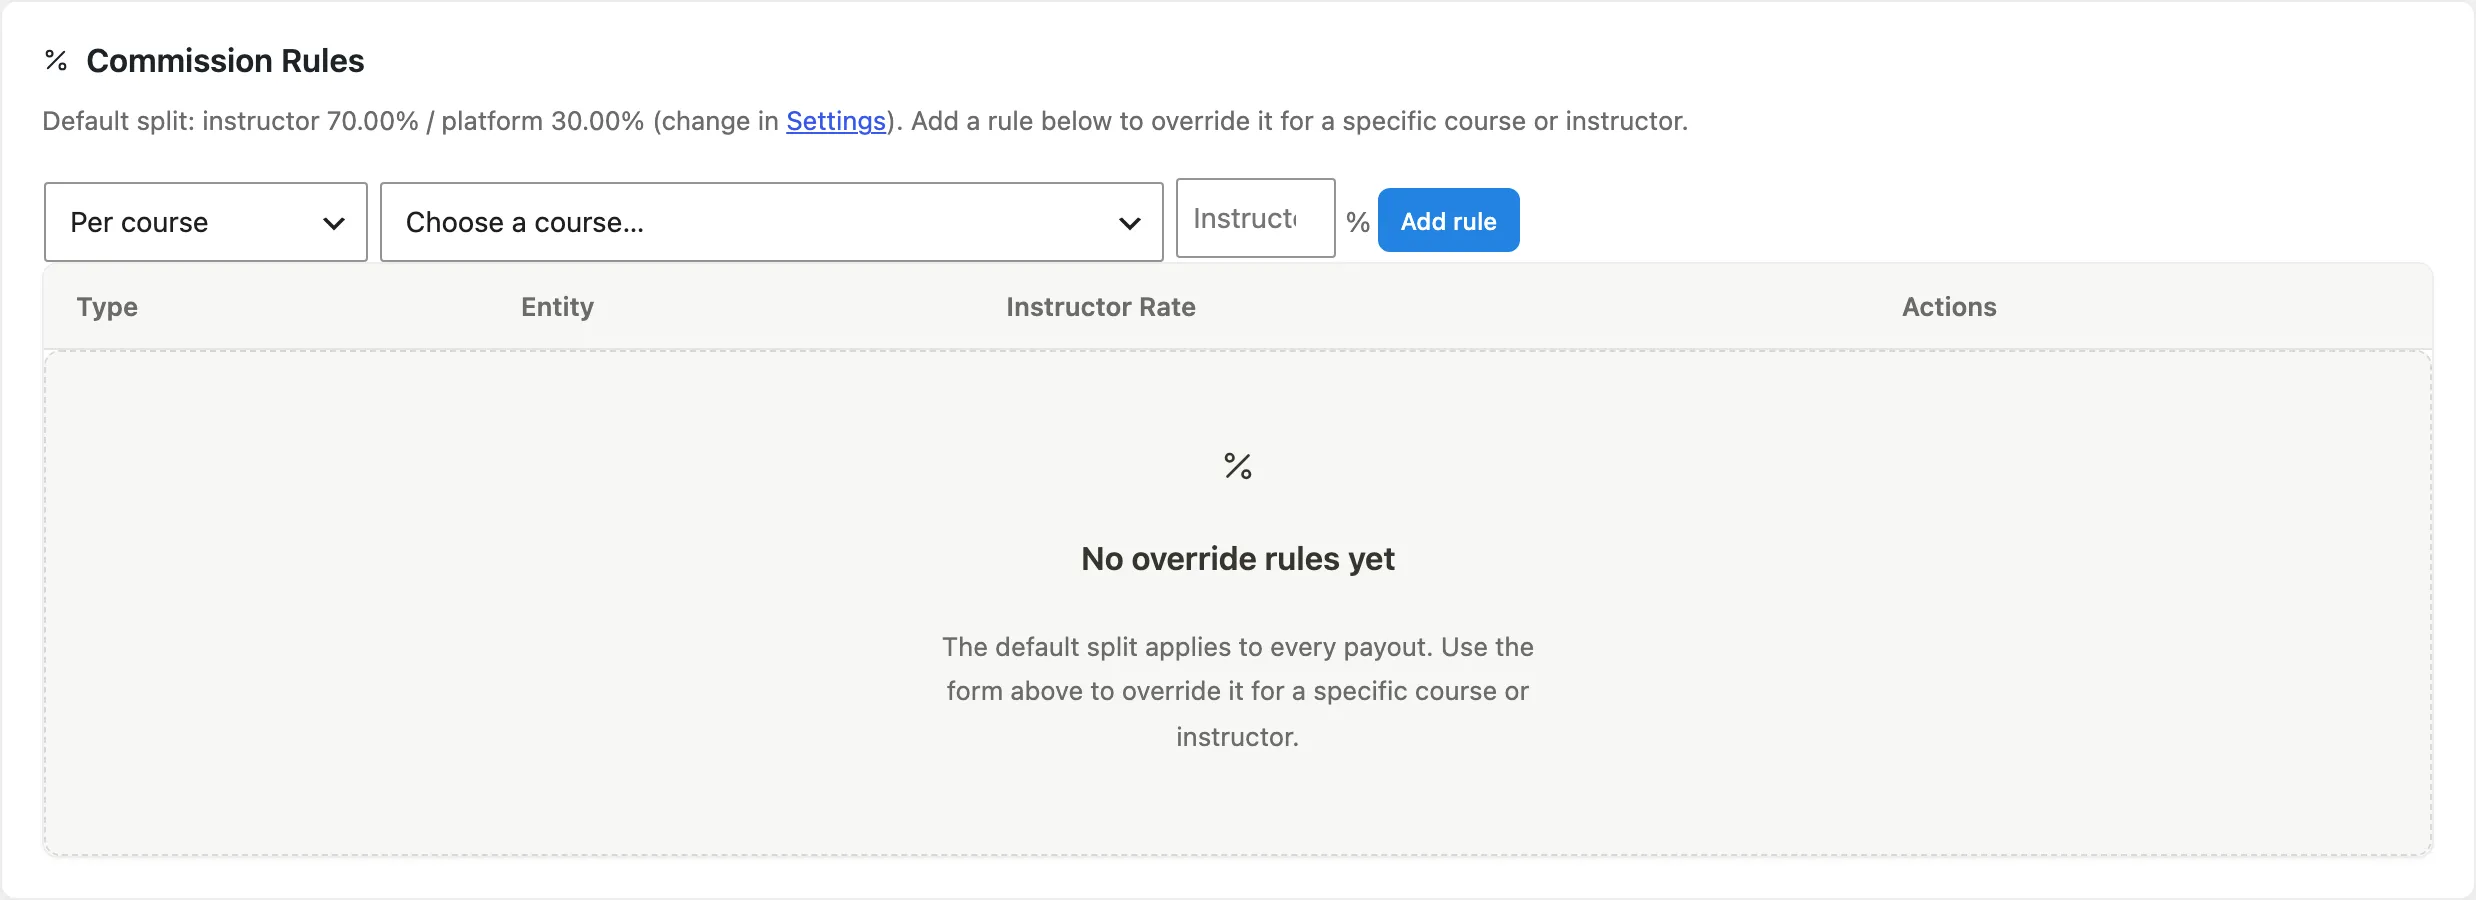
The card shows the active default split and a form for adding override rules.
In the rule-type dropdown, choose Per course.
Per instructor (Pro) rules require Learnomy Pro. The option is visible in the dropdown but grayed out on Free.
Select the course from the Choose a course dropdown.
Enter the instructor's percentage in the rate field.
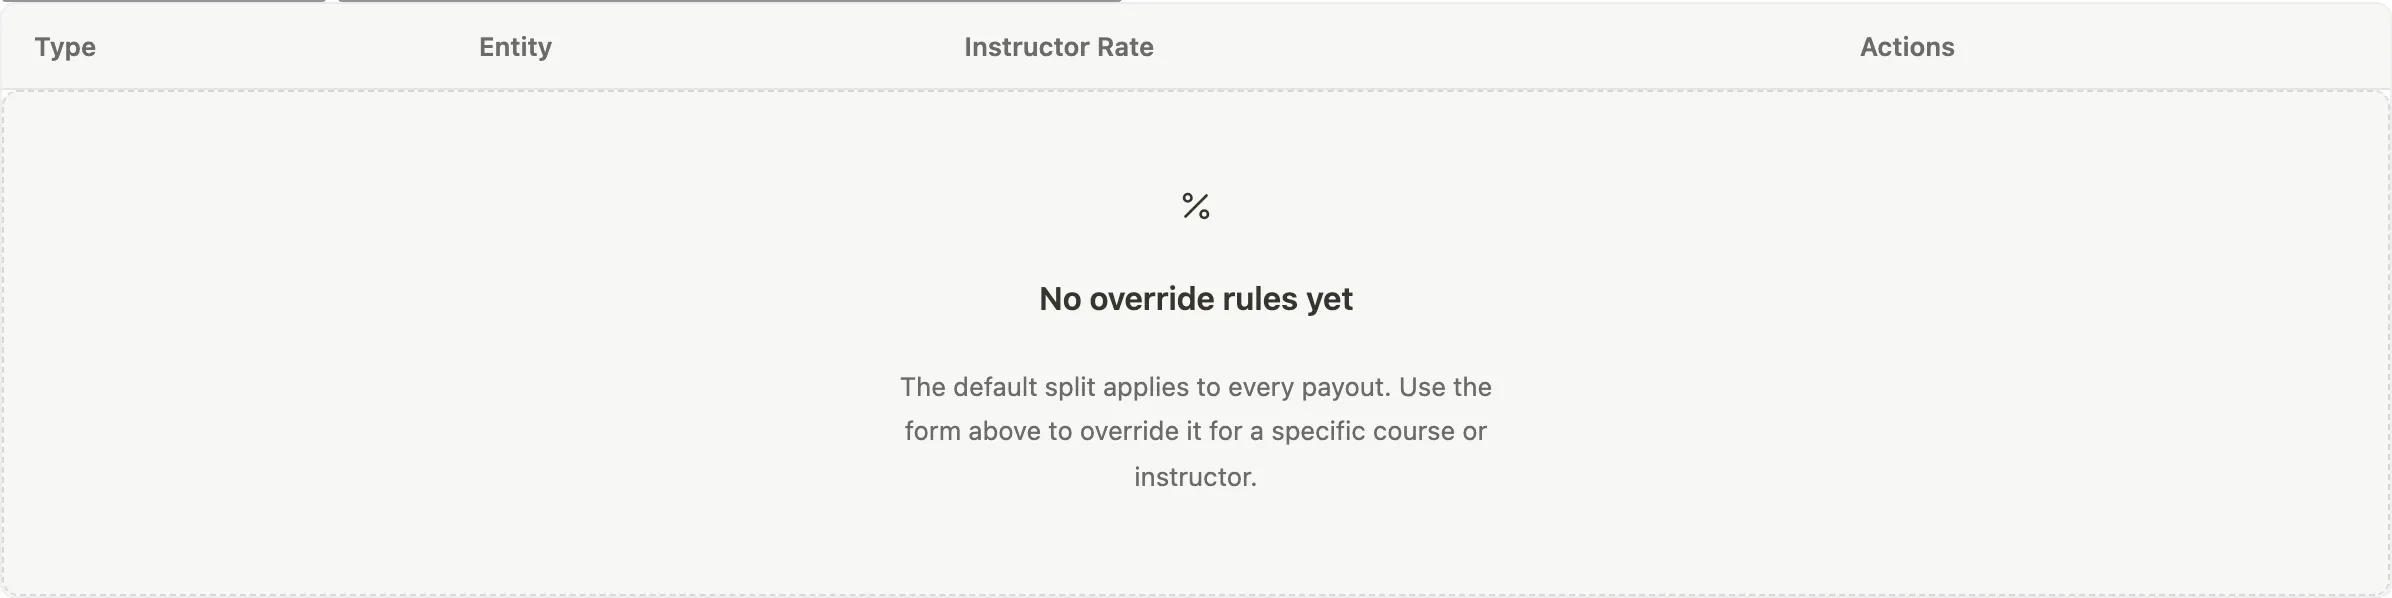
Click Add rule. The new rule appears immediately in the table below.
To change an existing rule, update the percentage directly in the table's rate field and click Save next to that row. To remove a rule, click the delete action next to it (the default split then applies again for that course or instructor).
Pro feature. Available in Learnomy Pro.
Per-instructor rules apply to all of an instructor's courses that do not already have a per-course override. To set one, choose Per instructor (Pro) from the rule-type dropdown, pick the instructor, enter the rate, and click Add rule.
Revenue Summary Cards
At the top of the Earnings page, four cards give a quick revenue overview.
| Card | What it shows |
|---|---|
| This Month | Total completed-transaction revenue in the current calendar month |
| Last Month | Revenue in the previous calendar month |
| Lifetime Revenue | All-time completed transaction total |
| Pending Withdrawals | Aggregate of all pending withdrawal requests |
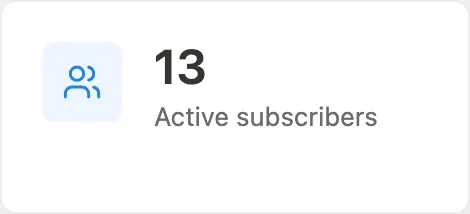
There is also a Recurring Revenue row above these cards showing active subscriber count, monthly recurring revenue, and trial conversions this month.
Instructor Earnings Widget (Frontend)
On the instructor dashboard at /instructor/, the Earnings widget shows three figures:
- Available to Withdraw - Cleared commissions not yet paid out.
- This Month - Earnings recorded in the current calendar month.
- Lifetime - Total earnings since the account was created.

Requesting a Withdrawal
On the instructor dashboard, click Request Withdrawal in the Earnings widget.

Enter the amount you want to withdraw and choose a payout method.
- PayPal - a PayPal email field appears. Enter the address you want paid. If you have withdrawn to PayPal before, this field is pre-filled with the address you used last time.
- Other method - a note explains that payment is arranged directly with the site owner by email. No account or bank details are collected or stored.
Submit the request. For a PayPal request, the form requires a valid email address before it lets you submit.
The request enters the Withdrawal Requests queue in wp-admin as a Pending entry. The instructor receives a notification when the admin processes it.
A site-configurable minimum withdrawal amount applies. The Request Withdrawal button is visible at any balance, but the form enforces the minimum when the request is submitted.
Admin: Withdrawal Requests Queue
Go to LMS Commerce > Earnings and scroll to the Withdrawal Requests card.
Use the Pending / Processed / Rejected / All tabs to filter the list.
Approving a withdrawal
Find a pending withdrawal on the Pending tab.
Click Approve. A confirmation prompt appears.
Confirm. The withdrawal status changes to Processed. The instructor's pending commission records are cleared. An email notification is sent to the instructor.
Approving a withdrawal is a recording step only. The actual funds transfer happens outside Learnomy (bank transfer, PayPal, or another method) unless Stripe Connect is active.
Rejecting a withdrawal
Click Reject on a pending row.
A prompt asks for a rejection reason. Enter the reason (the instructor will see it in their notification).
Click OK to confirm. The withdrawal moves to Rejected status and the instructor's available balance is restored.
Viewing withdrawal details
Click an instructor's name in the table to open the withdrawal detail page, which shows the full amount, method, commission records included, and any status history.
Recent Transactions Table
Below the revenue cards, the Earnings page shows a paginated list of completed transactions.
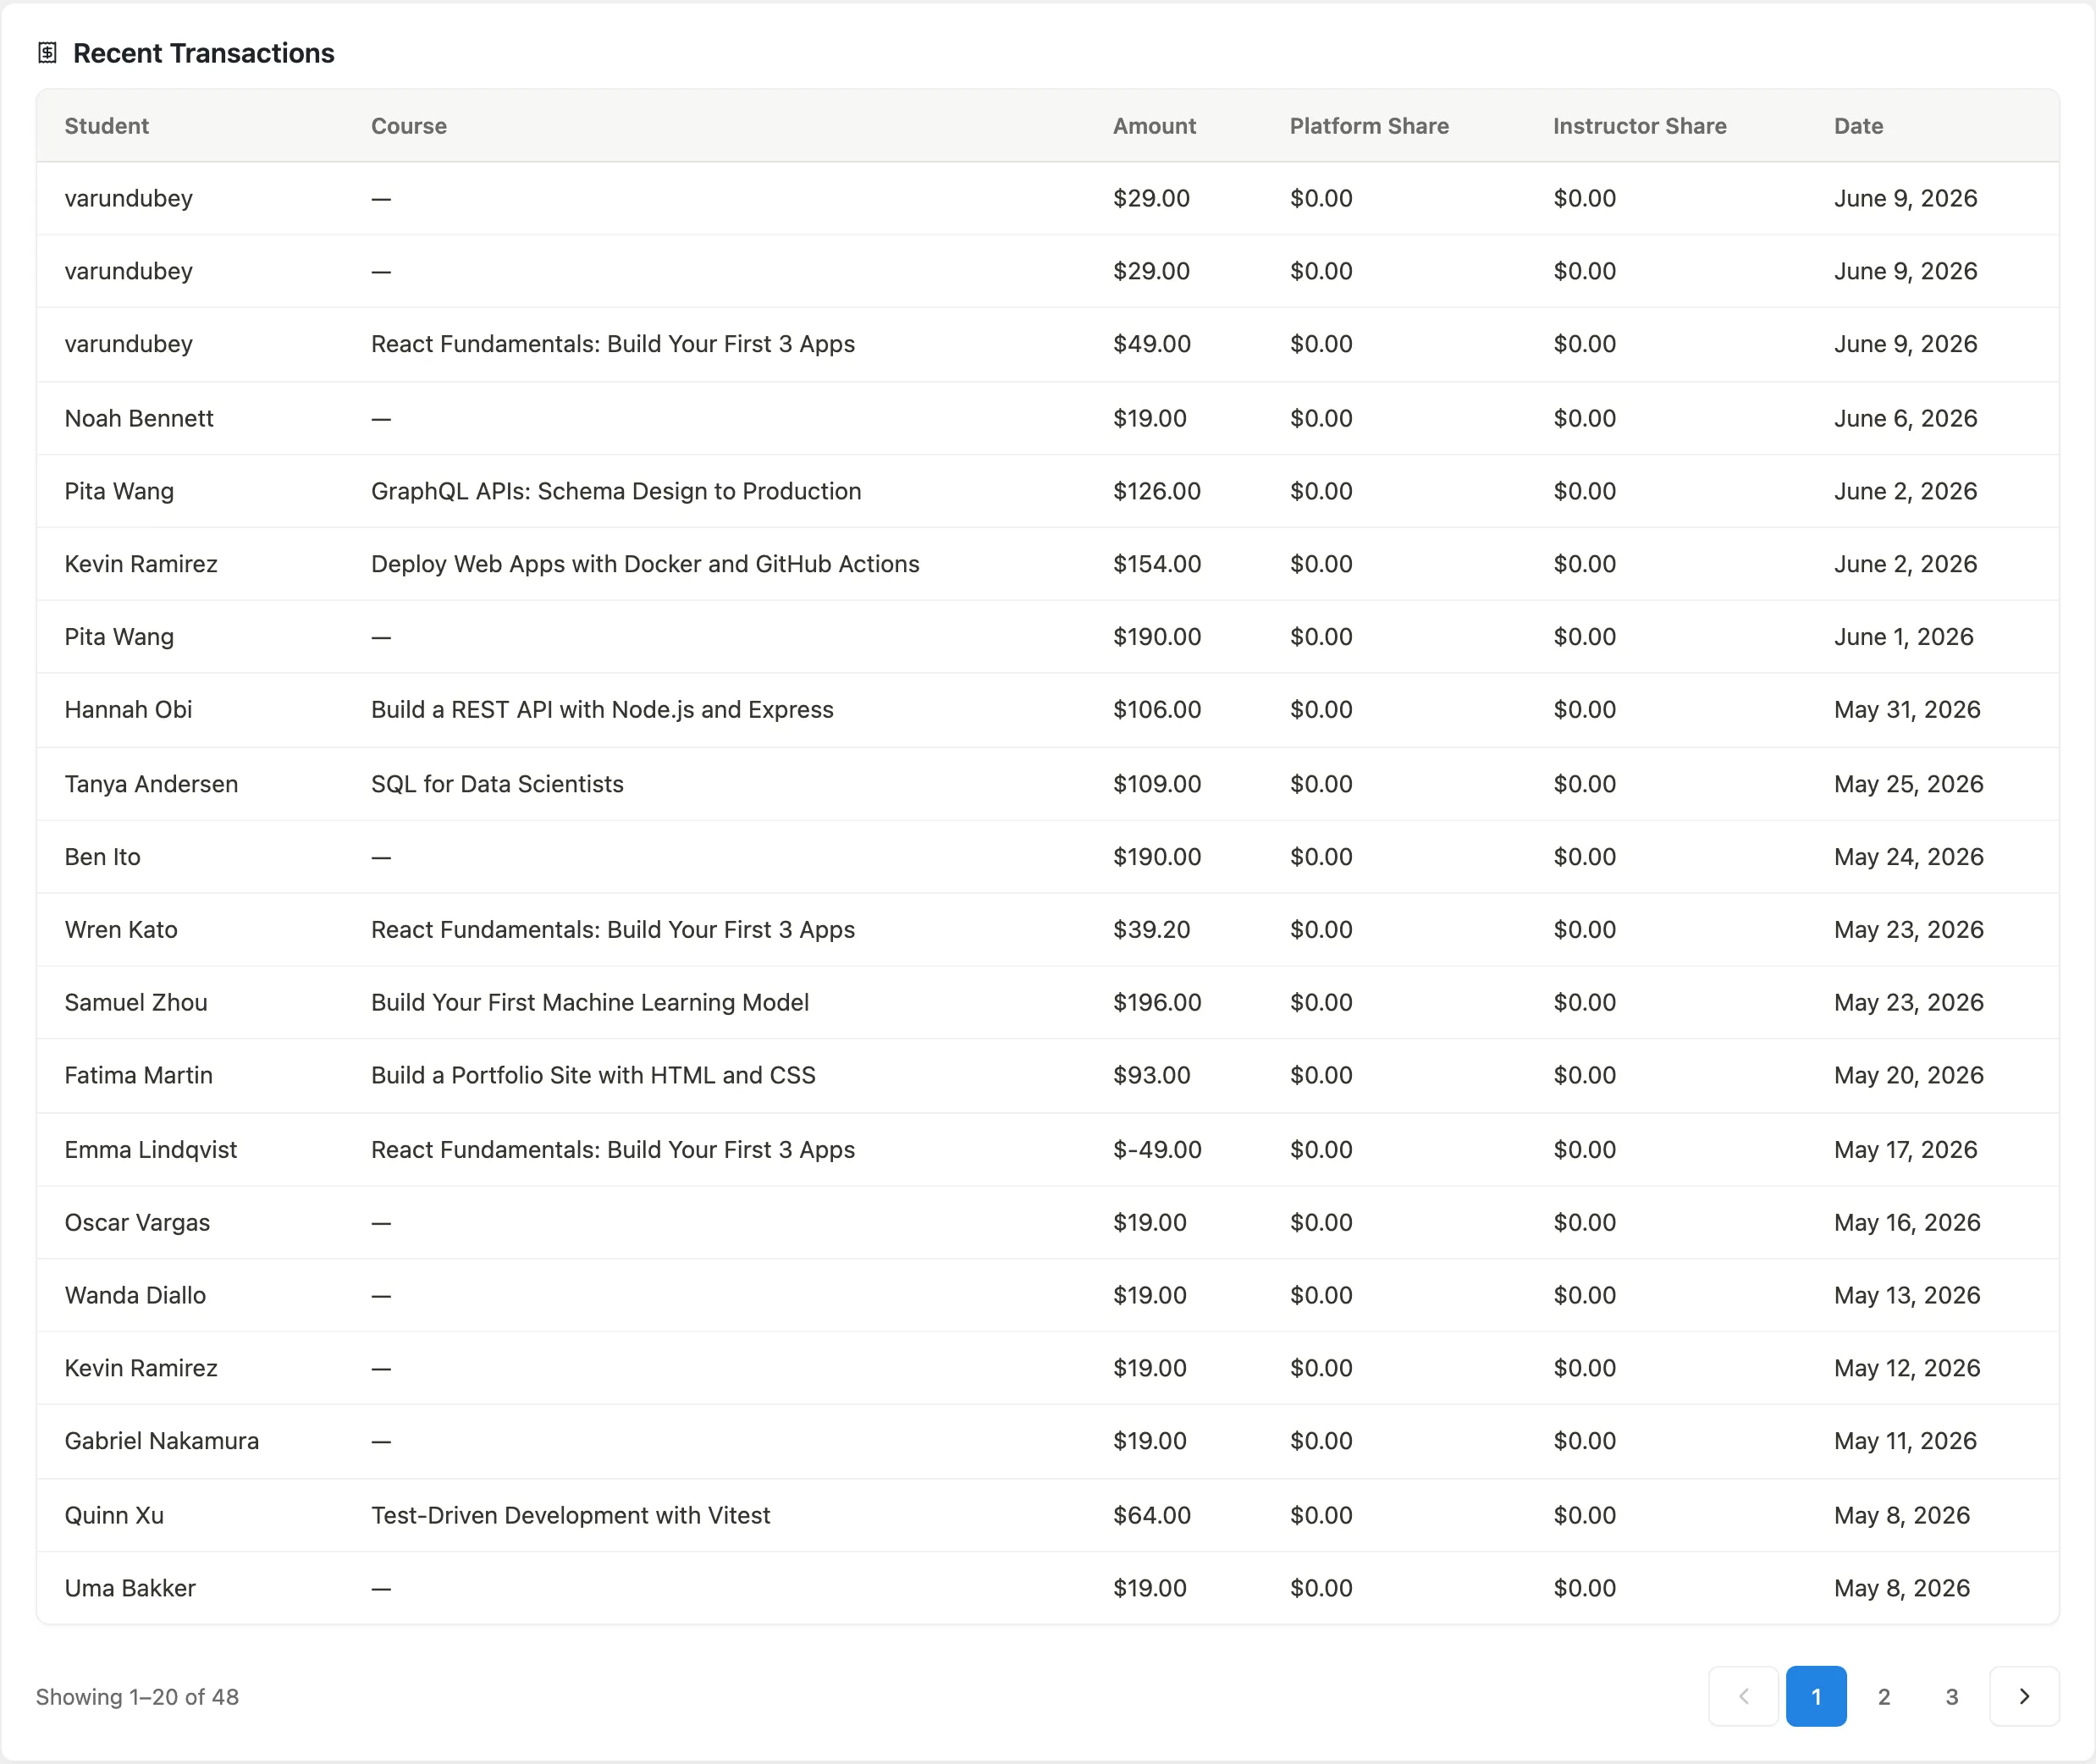
Each row shows the student, course, total amount (with a net-base note if a fee or tax was deducted), the platform's share, the instructor's share, and the transaction date. Use the Export CSV button in the page header to download the full transaction history.
Tips
- Commission splits are calculated and frozen at the time of each transaction. Changing a commission rule later does not retroactively alter older transactions.
- The per-instructor rule requires Learnomy Pro. Free supports per-course overrides and the global default only.
- A refund reverses the commission records for that transaction (marked
reversed, not deleted), so your earnings totals stay accurate.