Certificate Templates
Free & ProCertificate templates are the visual designs Learnomy prints when a student earns a certificate. You design a template once using the built-in designer, then assign it to any course that awards certificates.
Overview
The Certificate Designer is a canvas-based editor that lets you compose a PDF-ready certificate layout without any external tools. It lives at Learnomy > Certificates > Design New Template (direct link: wp-admin/admin.php?page=learnomy-certificate-designer). Each template stores its design as JSON and renders to a PDF or printable HTML page when a certificate is issued.
The curated certificate library
You do not have to design a template before your instructors can award certificates. Every Learnomy install ships with four ready-made templates, seeded automatically the first time the certificate templates table is available - no setup step required.
| Template | Type | Style |
|---|---|---|
| Course Completion - Elegant | Course completion | Centered serif layout with a gold double border |
| Course Completion - Modern | Course completion | Left-aligned sans-serif layout with a blue accent bar |
| Quiz Completion - Elegant | Quiz completion | Centered serif "Certificate of Achievement" wording, shows the student's score |
| Quiz Completion - Modern | Quiz completion | Left-aligned sans-serif layout with a green accent bar, shows the student's score |
All four are shared with All instructors by default (see Instructor availability below), so they appear in the Certificate Template dropdown for every course and every instructor immediately. Once seeded, each behaves like any other template - edit it in the designer, restrict who can use it, or delete it if you do not want it.
Seeding is idempotent: it runs once per plugin version and only creates a design that is not already present, matched by an internal design key rather than by title. Re-running it, or updating to a version that adds a new curated design, never creates duplicate rows. If you delete one of the four, it stays deleted - the seeder does not bring it back.
For developers
Add more designs to the curated library with the learnomy_certificate_designs filter:
add_filter( 'learnomy_certificate_designs', function ( array $designs ): array {
    $designs[] = [
        'design_key'  => 'my-addon-design',       // unique - keeps seeding idempotent
        'title'       => __( 'My Add-on Certificate', 'my-addon' ),
        'kind'        => 'course_completion',      // or 'quiz_completion'
        'orientation' => 'landscape',
        'design_json' => [ /* same shape as the designer's own pre-built layouts */ ],
    ];
    return $designs;
} );
Opening the designer
Go to Learnomy > Certificates.

Click Design New Template in the top-right corner. To edit an existing template, use the Edit row action in the table.
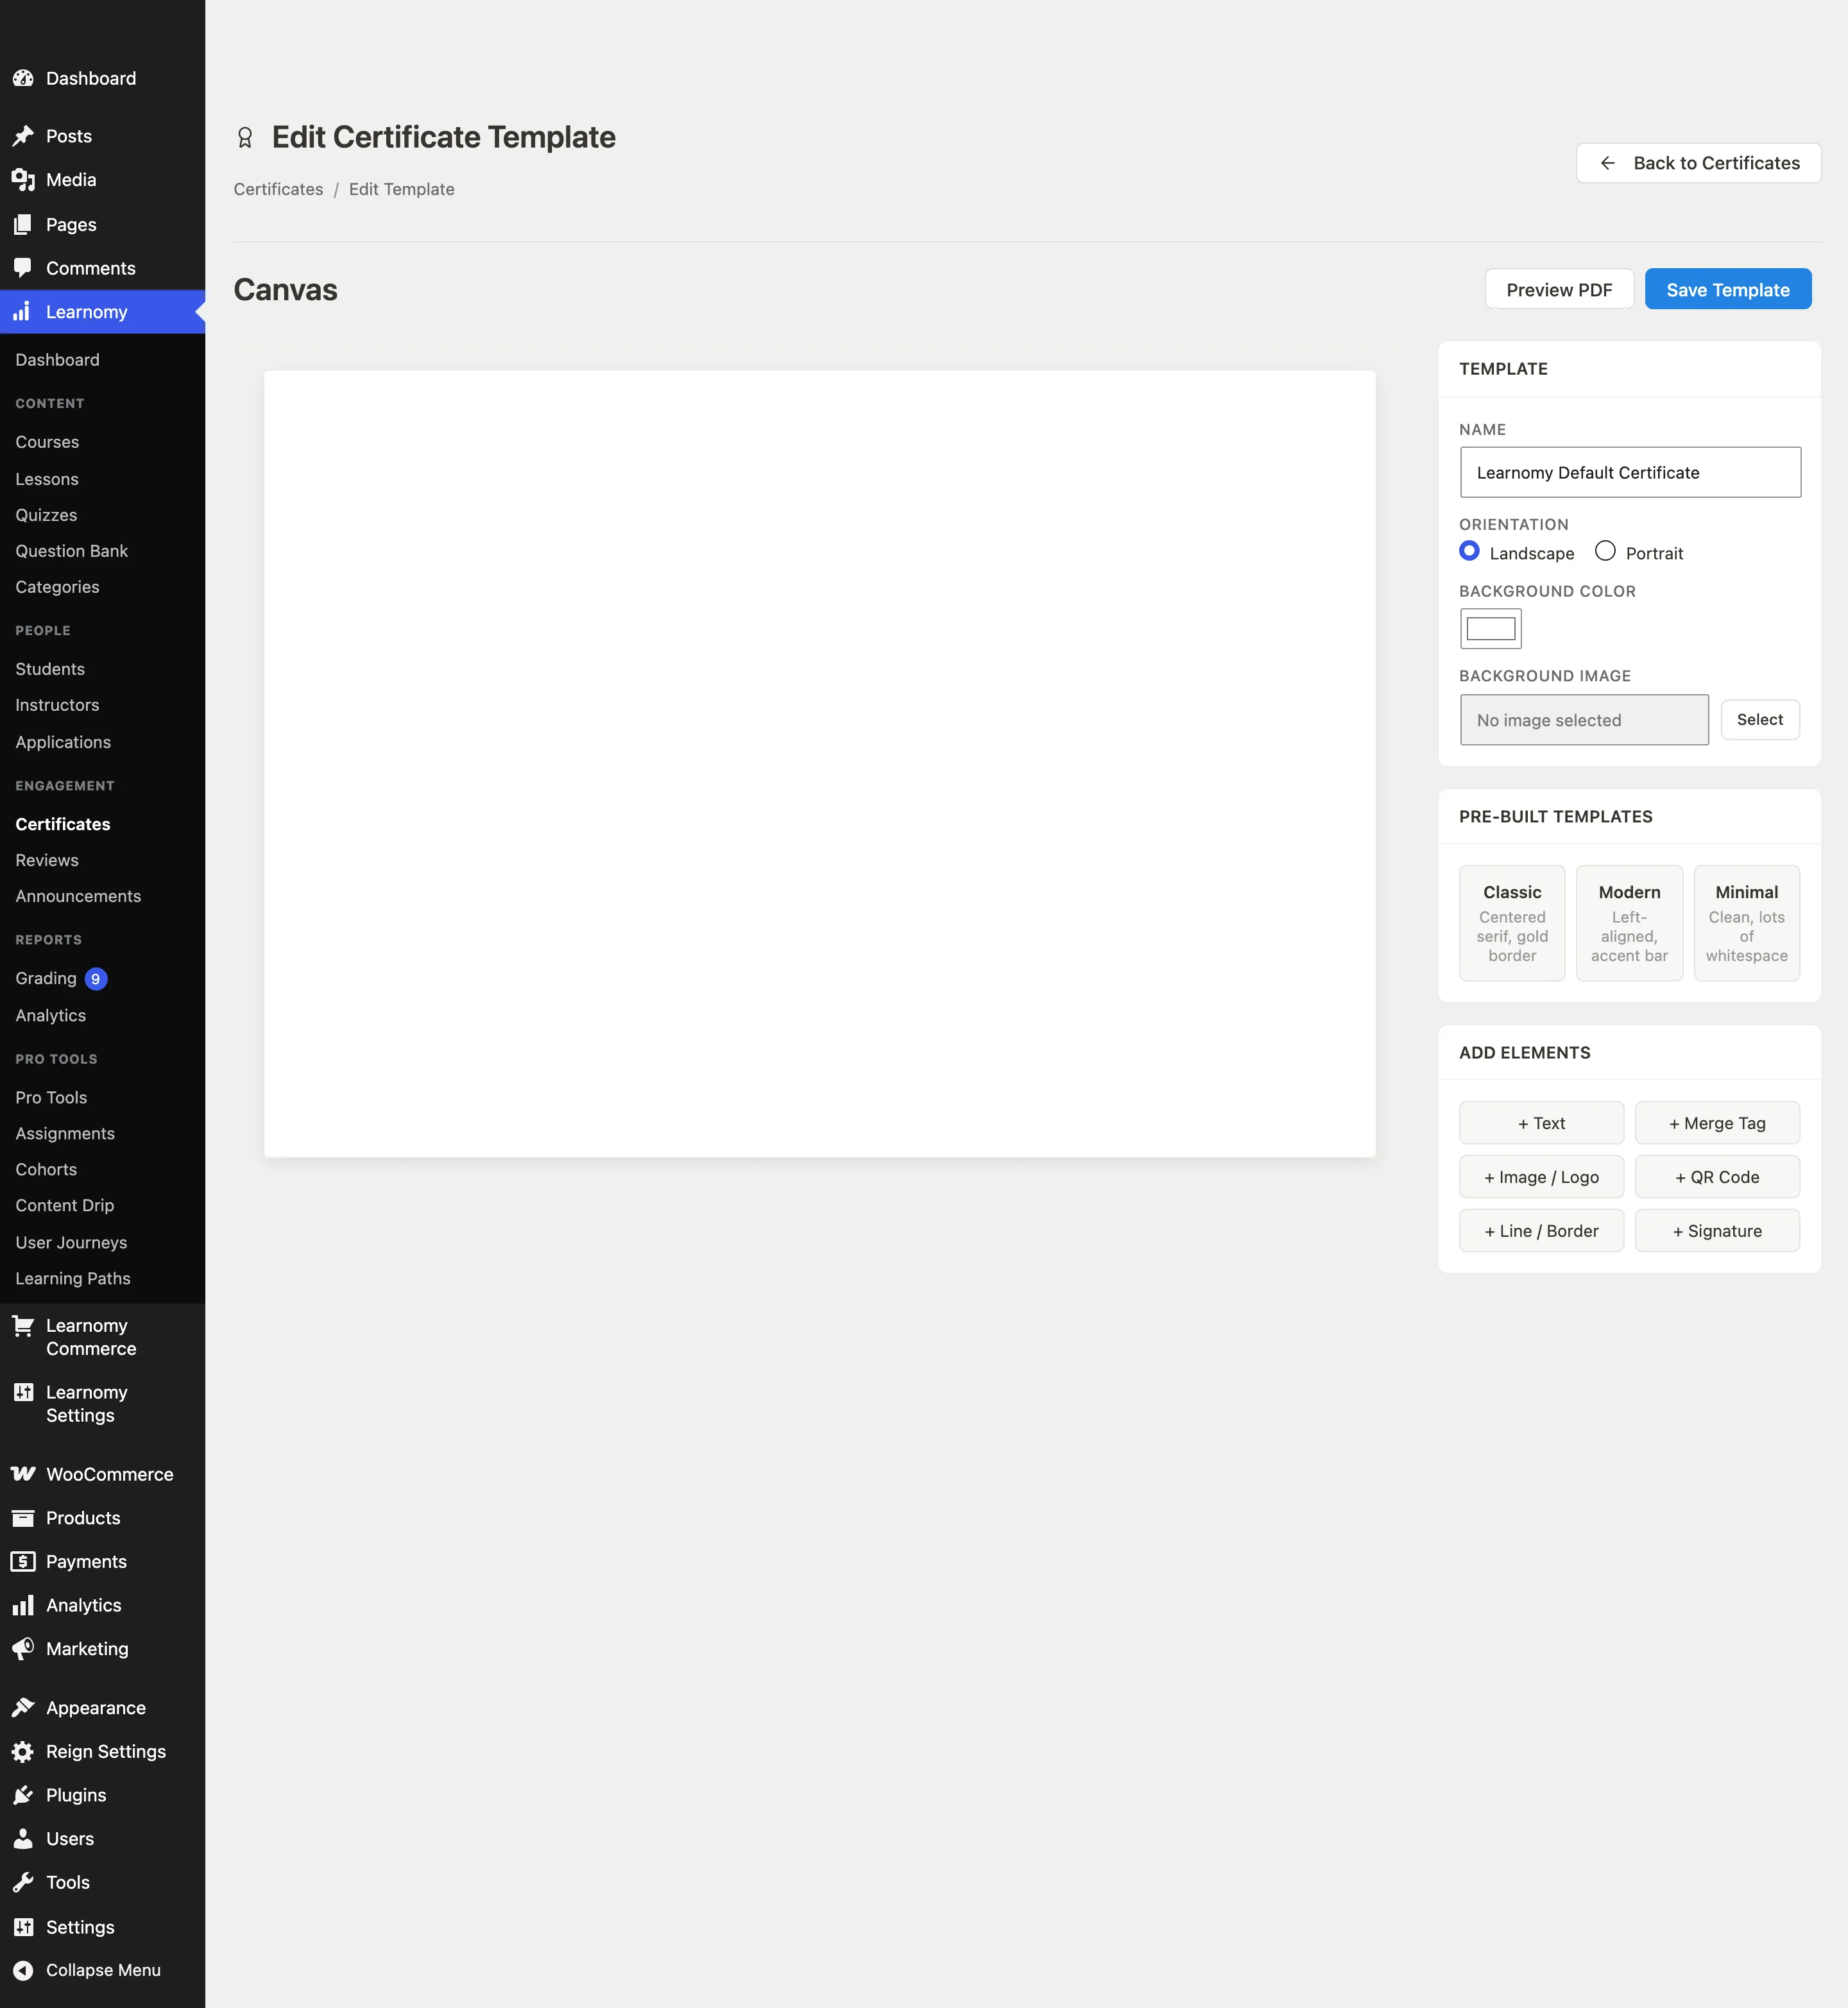
The designer opens with a canvas on the left and a sidebar panel on the right.
Template panel: name, orientation, and background
The Template panel at the top of the sidebar controls the canvas itself.
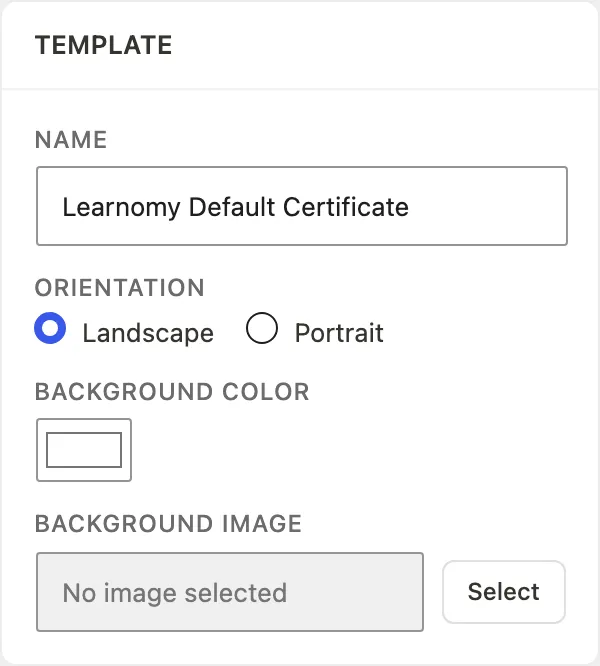
- Enter a Name for the template. This name appears in the course settings dropdown so you can tell templates apart.
- Choose Orientation: Landscape (default) or Portrait.
- Set a Background Color using the color picker. The default is white (
#ffffff). - To use an image as the background, click Select next to Background Image. This opens the WordPress media library. Choose an uploaded image (a certificate border frame, a branded pattern, or a full bleed illustration) and click Select. The canvas updates immediately. To remove the image, click Clear.
Instructor availability
By default, a template you build from scratch is private to admins - instructors will not see it in their certificate picker until you decide to share it. The curated library templates (above) are the exception: they ship already shared with all instructors.
Set who can use a template from the Availability & Type panel in the designer sidebar, just below the Template panel.
- Certificate type - Course Completion or Quiz Completion. This is a label only, so instructors can tell templates apart in the picker; it does not change when or how a certificate is issued.
- Who can use this template:
- Admins only (default for a new template) - private; only admins see it.
- All instructors - every instructor can select it.
- Specific instructors - choose individual instructors from a search-and-select list. Only the selected instructors (plus admins) can select the template.
Choosing Specific instructors reveals a search box and a multi-select list of your site's instructors. The list is capped at 500 instructors by default so a large roster never renders an unbounded dropdown - use the search box to find anyone beyond that. An instructor you already granted access to stays visible in the list even if your site has more instructors than the cap.
Admins always see every active template on every picker, no matter its availability setting. The Admins only / All instructors / Specific instructors scope only filters what instructors see.
Where the scoped list appears
The same scoped list feeds every certificate picker an instructor can reach:
- The wp-admin course editor's Certificate Template dropdown (Completion and Certificate section).
- The Pro front-end course builder's certificate step.
- The Pro Learning Paths editor's certificate selector.
An instructor sees the curated library plus any template an admin shared with them (all-instructors or a specific grant). Admins see every active template on all three surfaces.
For developers
// Raise the "Specific instructors" picker cap above the default of 500.
add_filter( 'learnomy_certificate_instructor_choice_limit', function ( int $limit ): int {
    return 1000;
} );
The scoped list is resolved once, in \Learnomy\certificate_pick_list( $user_id ) (includes/functions.php), and consumed by all three pickers above so they can never drift from each other. It returns every active template for a user who can manage settings (admins), or the curated-plus-granted subset for anyone else.
Choosing a pre-built template
The Pre-built Templates panel gives you three starting points:
| Template | Description |
|---|---|
| Classic | Centered serif layout with a decorative gold border |
| Modern | Left-aligned layout with a bold accent bar |
| Minimal | Clean layout with generous whitespace |
Click a card to load its element arrangement onto the canvas. You can then change any element after loading.
Adding and editing elements
The Add Elements panel has six element types:
| Button | What it adds |
|---|---|
| + Text | A static text block (course name label, "Certificate of Completion" heading, etc.) |
| + Merge Tag | Dynamic text that fills in at issue time (student name, course name, issue date, credential ID, site name) |
| + Image / Logo | An uploaded image such as a logo or signature image |
| + QR Code | A QR code that links to the public verification URL for this certificate |
| + Line / Border | A horizontal or vertical decorative line |
| + Signature | A signature block with a name and title below the signature image |
Click any button to add an element at a default position on the canvas. Click an element on the canvas to select it.
Editing a selected element
When an element is selected, the Selected Element panel appears in the sidebar.

The panel shows editable properties for the selected element (position, size, font, color, content, and element-specific options). Use the Duplicate button to copy the element, or Delete to remove it.
Elements are absolutely positioned on the canvas. Drag to reposition them.
Saving and previewing
- Click Save Template to save the current canvas state. The autosave indicator shows the last-saved time.
- Click Preview PDF (active after the first save) to generate a sample PDF with placeholder merge-tag values so you can see the final output before assigning the template to a course.
Assigning a template to a course
A certificate template only issues certificates when it is assigned to a course with certificates enabled.
- Go to Learnomy > Courses and open the course editor for the course you want.
- Open the Completion and Certificate section in the course settings panel.
- Check Award a certificate on completion.
- The Certificate Template dropdown appears. Select the template you just designed from the list. Use the search box to find a template by name if you have many.
- Save the course.
If no templates exist yet, the course settings show a link to the designer instead of the dropdown.
Tips
- You do not need to design anything to get started - the four curated library templates are available to every instructor from day one.
- A template can be assigned to multiple courses at the same time.
- If a student's course is deleted after a certificate was issued, the certificate remains verifiable. The card reads "Course archived (certificate still verifiable)" on the student's certificates page, and the public verification page shows "Course no longer available" - the credential ID and verification URL keep working either way.
- The QR Code element encodes the public verification URL (
/verify/<uuid>). Adding one makes the printed or downloaded PDF self-verifying without needing the website open. - Background images render at their full canvas size. Use landscape-ratio images for landscape templates and portrait-ratio images for portrait templates.