Sections and Lessons
Sections are optional chapters that divide a course into logical groups. Lessons are the individual learning units. This page covers how to create and configure both.
Overview
The curriculum lives in the Course Builder (Learnomy → Courses → Builder). Sections and lessons are also accessible directly from Learnomy → Lessons, which lists every lesson across all courses.
Are sections required?
No. Sections are optional. A lesson or quiz can sit directly under a course with no section assigned. Use sections when you want to group lessons into chapters; skip them for short, flat courses. A lesson with no section assignment still appears in the curriculum and on the Lessons list, just without a section grouping.
See Creating a Course for where the curriculum fits into the overall course setup.
Sections
Sections exist only inside the Course Builder. They group lessons and optionally hold a section-level quiz.
Creating a section
- Open the Course Builder for a course (Learnomy → Courses, click Builder on the row).
- Click Add Section.
- Type the section title in the inline field and press Enter or click away to save.
Sections can be reordered by dragging the drag handle on the left side of the section row. Each section shows a count of its lessons.
To delete a section, use the section's row action menu. Deleting a section removes the section record but does not delete the lessons inside it. Those lessons become unattached and will appear on the Lessons list without a section assignment.
Lessons list
Go to Learnomy → Lessons to see all lessons across every course.
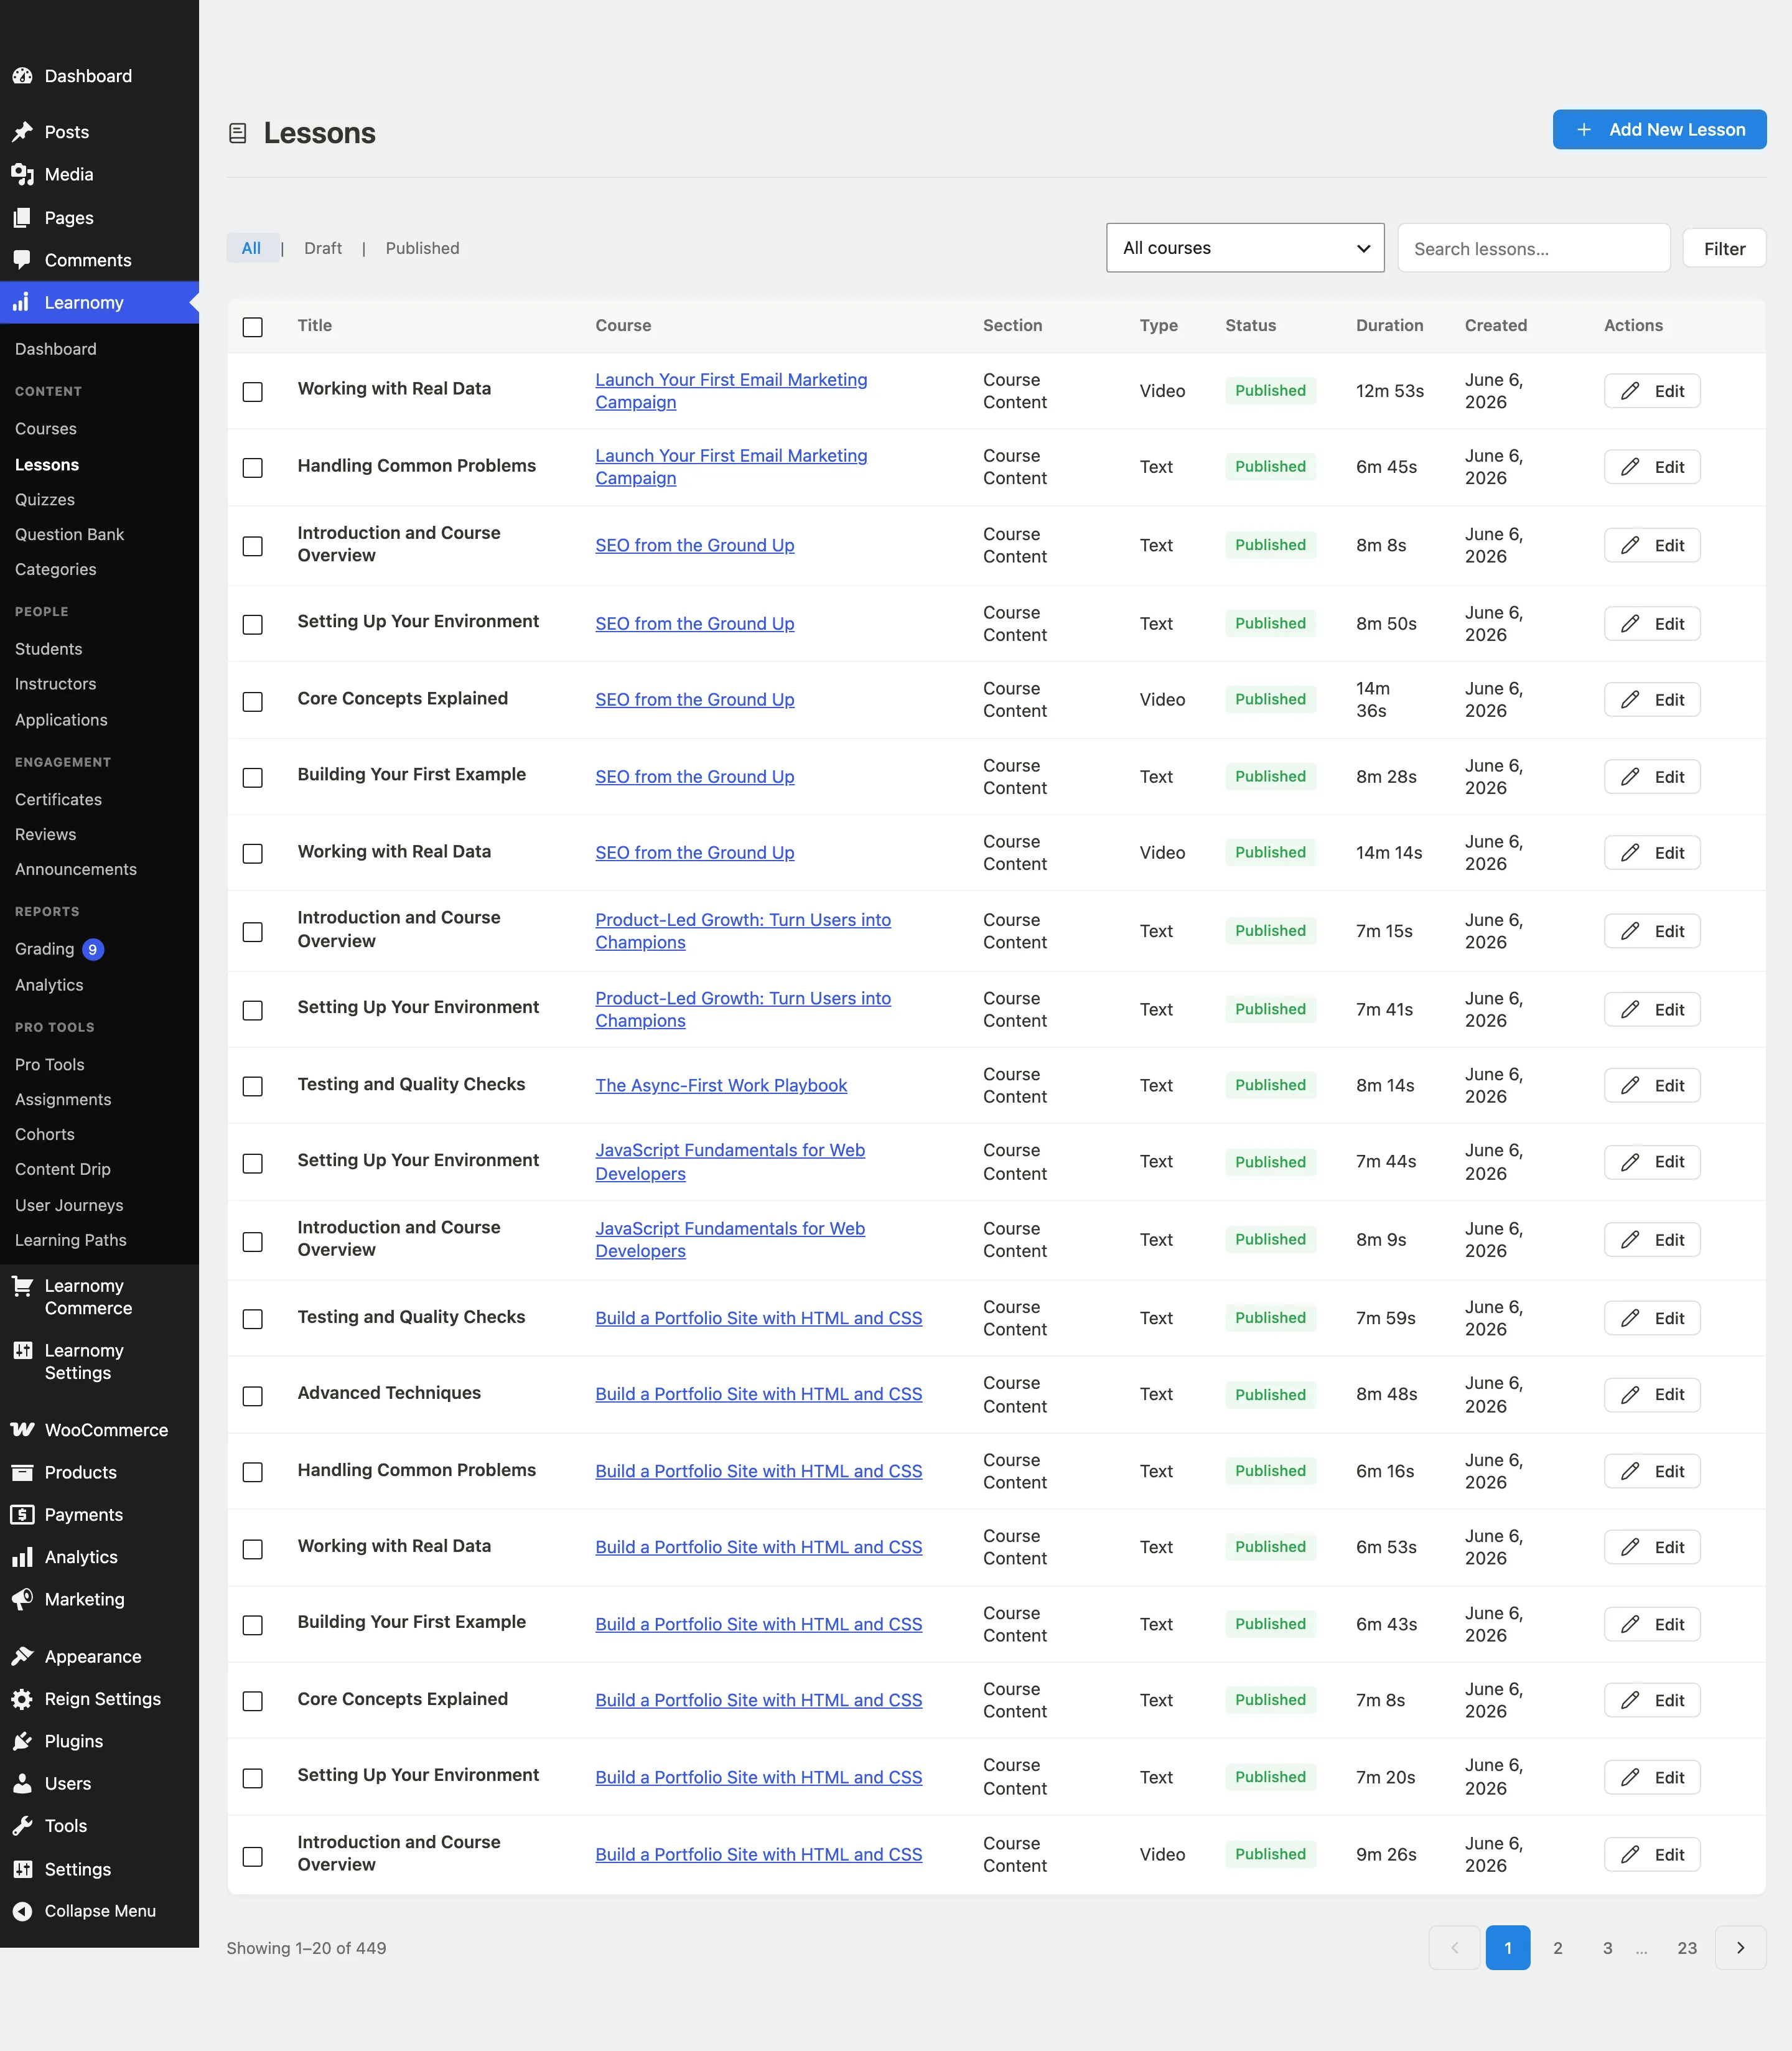

The table shows the lesson title, the course it belongs to, its section, content type, status, and sort order. Row actions: Edit opens the lesson editor. View opens the lesson in the lesson player. Trash moves the lesson to trash.
Lesson editor
Click Add New Lesson from the page header, or click Edit on an existing lesson, to open the lesson editor.
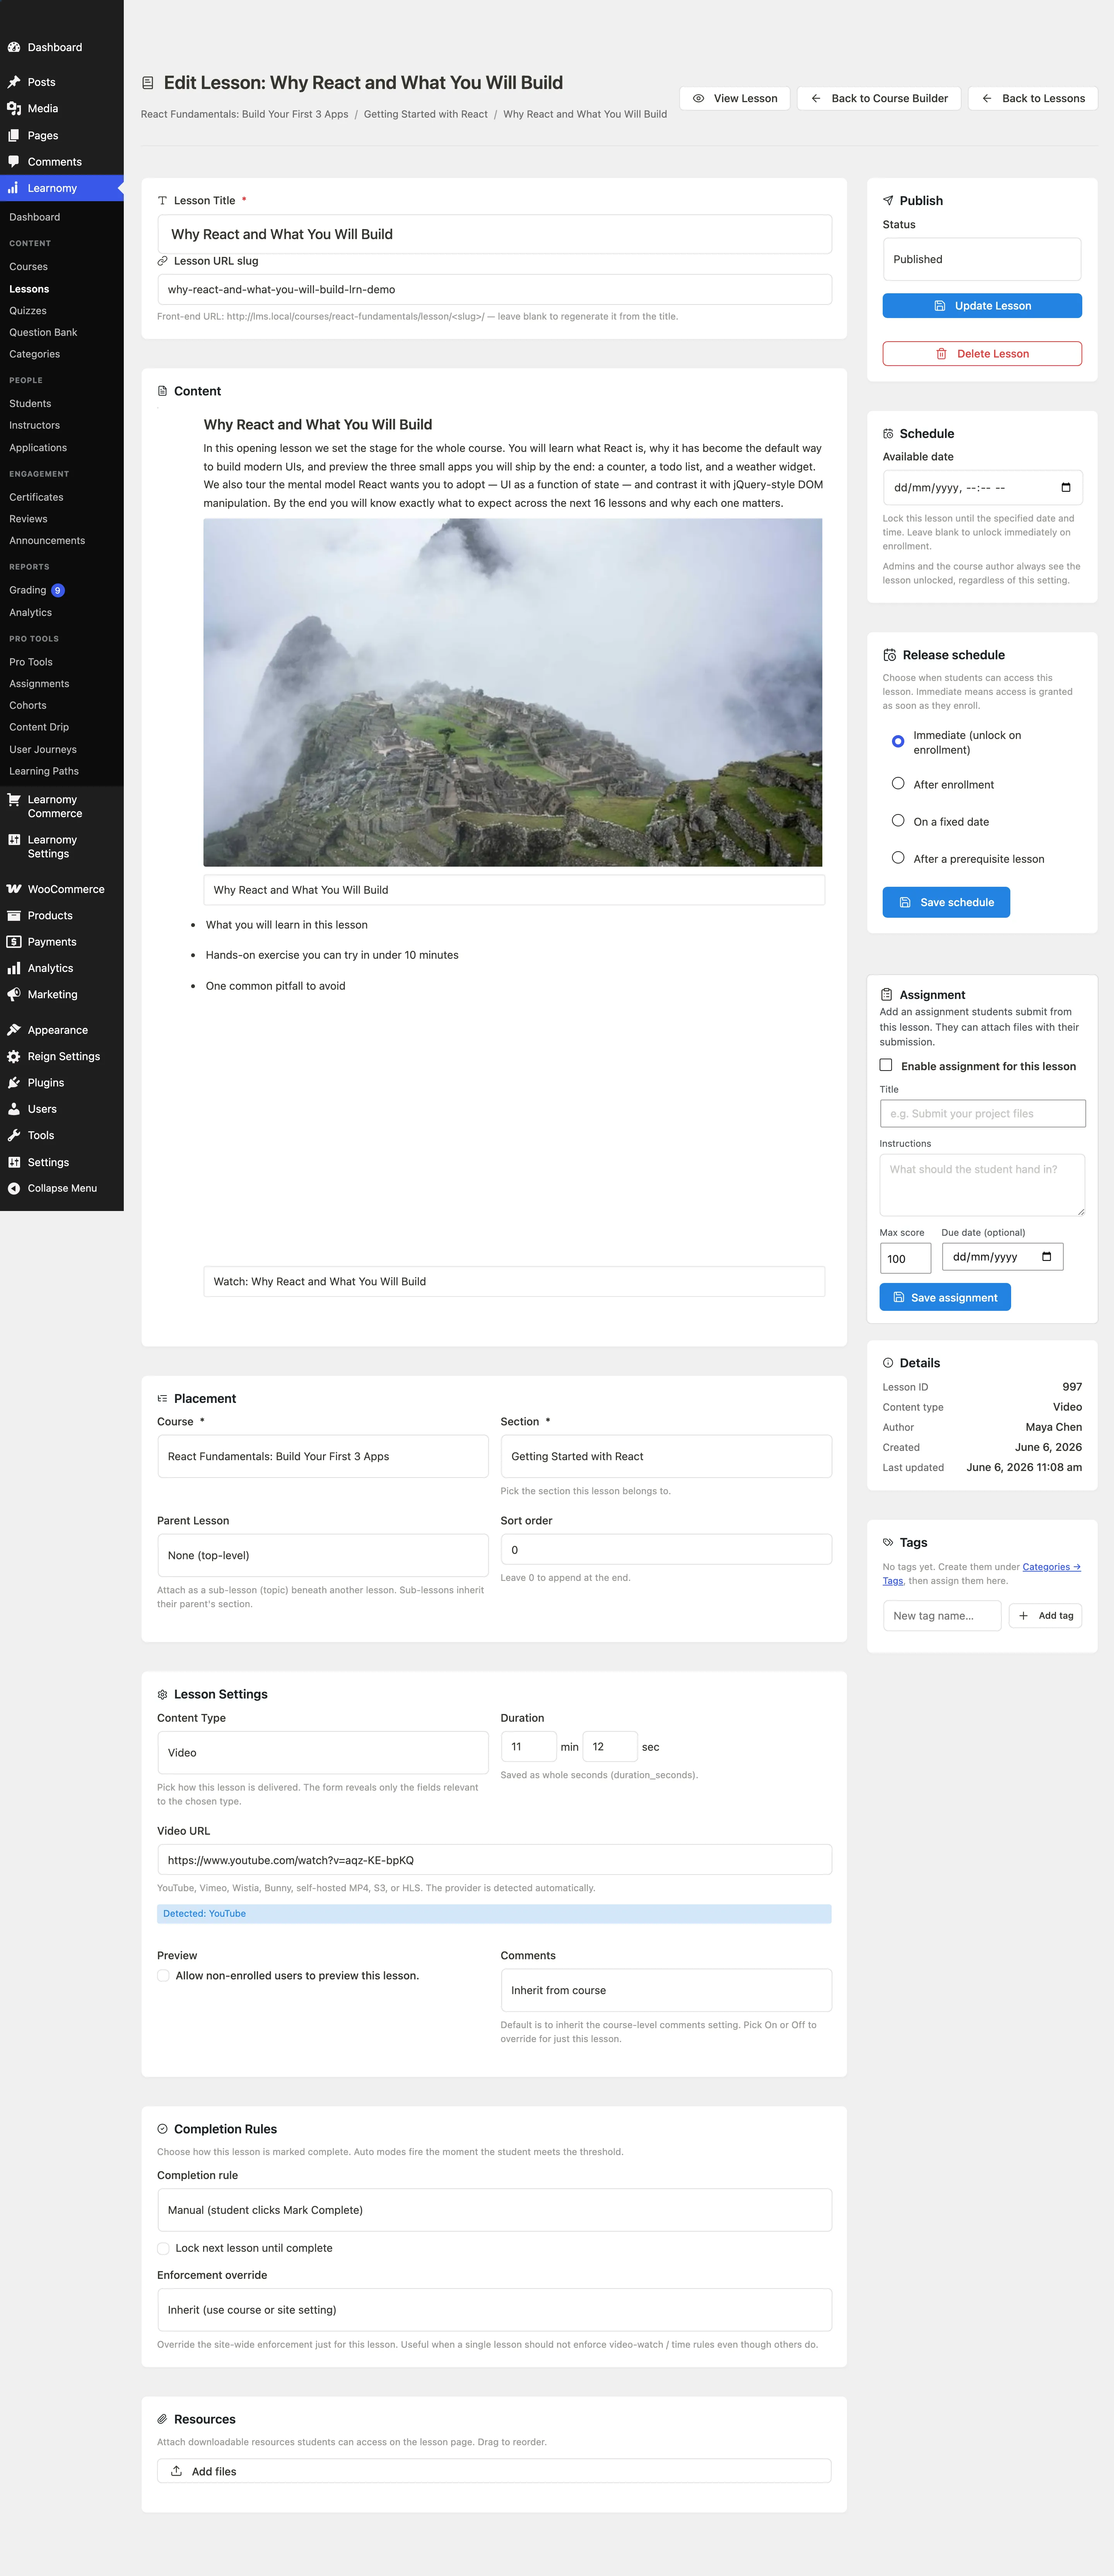
The editor is divided into several panels.
Header and title
The top of the editor shows the lesson title field and the Publish button group.

Give each lesson a clear, specific title. The slug auto-generates from the title and determines the lesson URL.
Course and section assignment
Before adding content, assign the lesson to a course using the dropdown. The section dropdown is optional: leave it unset to place the lesson directly under the course with no section. If you are creating the lesson from inside the Course Builder context, these fields are pre-filled.
Content type and content
The Content Type dropdown sets what kind of content the lesson delivers. Choose one:
| Type | Description |
|---|---|
| Text | A WYSIWYG body editor (default). |
| Video | An external or uploaded video. Paste the URL into the Video URL field. |
| Audio | An audio lesson. Paste the audio file URL. |
| An inline or downloadable PDF. Paste the PDF URL. | |
| Embed | A third-party embed such as a slide deck or SoundCloud track. Paste the embed URL. |
| Live | A scheduled live session (Zoom, Google Meet, Teams). Paste the meeting URL into the Join link field, then set when the session starts and how long it runs. |
| Download | A standalone downloadable file (ZIP, ebook, etc.). Paste the download URL. |
| Protected video (MediaShield) | A video delivered through the MediaShield plugin so the source URL is never exposed in the page. You pick a MediaShield-protected video rather than pasting a URL. This option appears only when the MediaShield plugin is active. |
The content editor adjusts to the selected type. For Text lessons, a full block editor appears. For Video, Audio, PDF, and Embed, a URL field appears.
For Live, three fields appear instead:
| Field | What it does |
|---|---|
| Join link | The Zoom, Google Meet, or Teams meeting URL. |
| Starts at | The date and time the session takes place, in the site's timezone. Leave blank for an always-open room. |
| Runs for (minutes) | How long the Join button stays available after the start. Leave blank and the session runs for 60 minutes. |
Before the session starts, students see a countdown with the Join button disabled. From the start until the end of the window, they see an enabled Join now button that opens the link in a new tab. After that, they see "This session has ended".
Third-party shortcodes in lesson content
You can type a shortcode from another plugin (a contact form, a WP Fusion tag block, a gallery, or any shortcode registered on your site) directly into the Text lesson body or the course description. It stays visible as plain shortcode text while you are editing -- exactly like a normal WordPress post -- and only expands into its rendered output on the front end when a student views the lesson or course page.
Lesson settings
The settings area below the content editor contains the completion, scheduling, and behavior controls.
Completion rules
Set how students complete this lesson.
Completion mode options:
| Mode | Description |
|---|---|
| Manual | Student clicks "Mark Complete" to complete the lesson. |
| Minimum time | Mark Complete activates only after the student has spent the set time on the lesson. |
| Video percentage | For video lessons: Mark Complete activates after the student has watched the set percentage of the video. |
| Scroll to end | Mark Complete activates only after the student has scrolled to the bottom of the lesson content. |
| Quiz pass | Mark Complete activates after the student passes the lesson quiz. |
| Auto: SCORM / standards package | Mark Complete stays locked until a Pro standards module (SCORM, and later cmi5) reports the package complete for this learner. Strict gate — advisory/off course settings do not relax it. Requires Learnomy Pro with SCORM (or another answering standard) enabled on the lesson. |
Lock next lesson until complete -- when ticked, the next lesson in the course order is locked until this lesson is marked complete (regardless of the course-level sequential setting).
Per-Lesson Rule Enforcement -- overrides the course-level enforcement setting for this specific lesson. Options: Inherit from course, Strict, Advisory, Off.
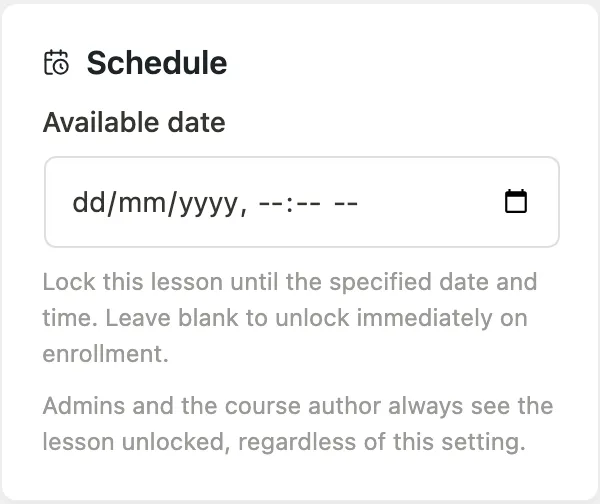
Schedule (available date)
Available date -- if set, the lesson is not accessible to students until this date and time (in the site's timezone). Leave blank for immediate availability.
This is the Free availability gate. For day-count scheduling relative to enrollment date, see Content Drip (Pro).
This is not a live session's start time. A live session's start goes in its own Starts at field in the content panel. Available date only decides when the lesson unlocks, so setting it on a live lesson hides the countdown from your students -- they cannot open the lesson at all until that date. Normally leave it blank on a live lesson: students can then open the lesson early and watch the countdown, and they still cannot join before the session begins.
Preview lesson
Mark as preview lesson -- tick to let visitors watch or read this lesson without enrolling. Preview lessons show a "Preview" badge in the curriculum list on the course page. This is useful for showing potential students a sample of the course content.
Resources and attachments
The Attachments panel lets you add downloadable files to a lesson. Students see these in the Resources section of the lesson player.
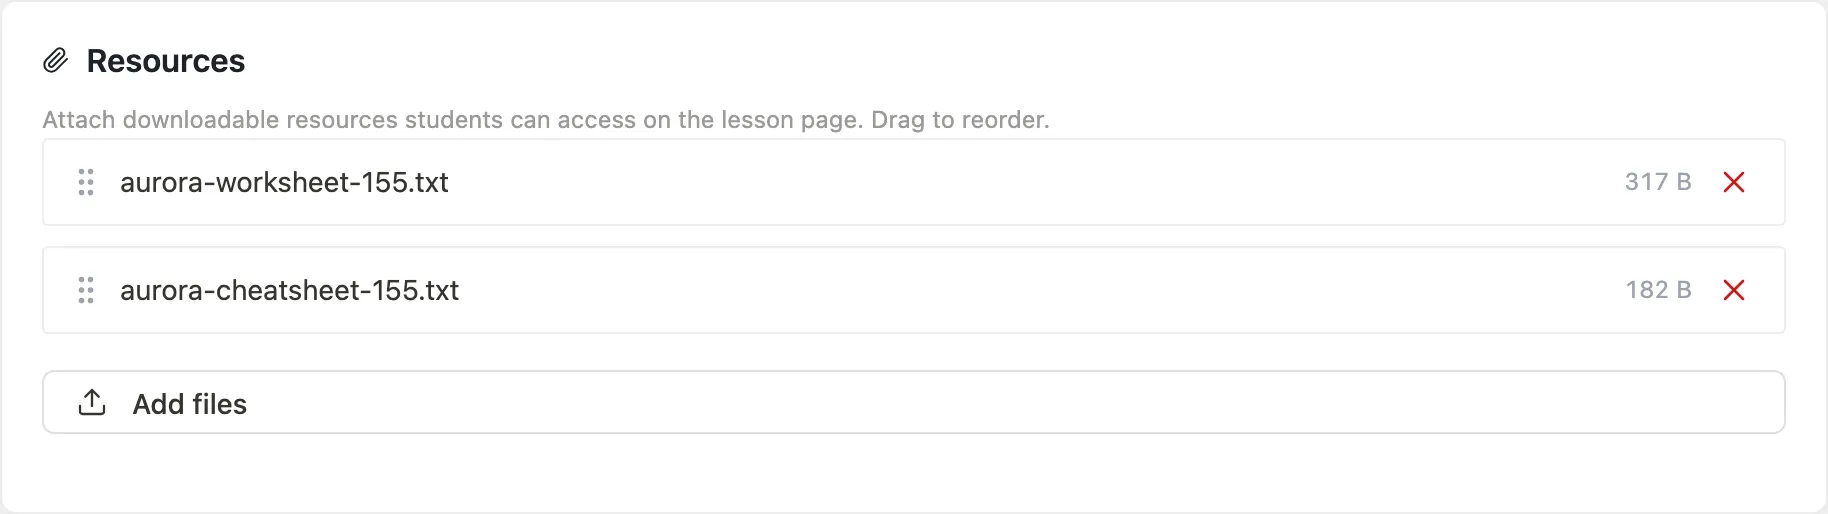
To add an attachment:
- Click Add Attachment in the Attachments panel.
- Enter a title for the file and paste its URL, or upload a file via the media uploader.
- Click Save Attachment.
You can add multiple attachments per lesson. Drag to reorder. Click the trash icon to remove one.
Attachments support any file type. The lesson player renders each one as a labeled download link.
Per-lesson access requirements (developer feature)
Beyond enrollment, the lesson player can require an extra condition before it shows the lesson content. For example, an enrolled member might need to fill in a profile field (such as a Bar Number) before a webinar lesson unlocks. When a requirement is not met, the player shows an access gate with a custom title, message, and call-to-action button instead of the lesson.
This is a developer extension point. There is no admin or settings screen for it in Learnomy. A requirement is added in code through a WordPress filter. If your site has no integration that uses these filters, lessons behave as before: enrollment alone grants access.
How the gate behaves
- The requirement is checked only for a viewer who would otherwise have access (an enrolled student or a viewer of a preview lesson).
- Administrators and the course's instructor are never blocked by a requirement, so a site manager cannot lock themselves out of their own content.
- When a requirement returns a reason, the player denies access and shows the gate. The reason carries the gate copy:
title,message,cta_label, andcta_url. - The gate applies to both lesson views: the focused lesson player and a lesson embedded elsewhere through the lesson templates. Both read the same access data, so a custom prompt shows wherever the lesson renders, with no need to hide the player with CSS.
Filters
| Filter | Purpose |
|---|---|
learnomy_lesson_access_requirements |
Add a requirement for one lesson. Receives ( array $requirement, $lesson, $course, int $user_id ). Return an empty array for no requirement, or a reason map (key, title, message, cta_label, cta_url) to deny access. |
learnomy_course_access_requirements |
Add a requirement that gates every lesson in a course at once. Receives ( array $requirement, $course, int $user_id ). Checked only when the per-lesson filter returned nothing. Same reason shape. |
learnomy_lesson_access_gate |
Filter the gate copy shown when access is denied. Receives ( array $gate, $lesson, $course, int $user_id ), where $gate has title, message, cta_label, and cta_url. Any requirement reason pre-fills these values; the defaults are the standard "Enrollment Required" copy. |
A typical integration uses learnomy_lesson_access_requirements (or the course-level variant) to decide whether to gate, and lets the reason flow through to the gate copy automatically.
Tips
- Sections are display containers only. The course's completion calculation is based on lessons, not sections.
- A lesson belongs to one course at a time, and to at most one section. Sections are optional, so a lesson can sit directly under the course with no section. If you need the same content in two courses, create separate lessons.
- The lesson slug must be unique within a course. Learnomy appends a numeric suffix automatically if a duplicate slug is detected.
- For Video and Audio lessons, Learnomy uses the Plyr player when possible. Plyr tracks watch percentage, which the video-percentage completion mode reads.
- Setting a lesson to Draft status removes it from the course curriculum for students but keeps it visible in the builder and admin list.