Becoming an Instructor
Free & ProAnyone with a WordPress account on your site can apply to become an instructor. Admins review applications and approve or reject them from a dedicated queue. This page covers the applicant experience and the admin workflow for processing those applications.
Overview
The application flow lives at /become-instructor/. It is a gated frontend form: logged-in users see the form; guests are redirected to log in first. Once approved, the user gains the lrn_instructor WordPress role and can start creating courses in wp-admin.
The admin queue is at Learnomy > Applications (?page=learnomy-applications).
Applying to Become an Instructor
Go to your site's
/become-instructor/page. If you are not logged in, you will be redirected to the login screen first.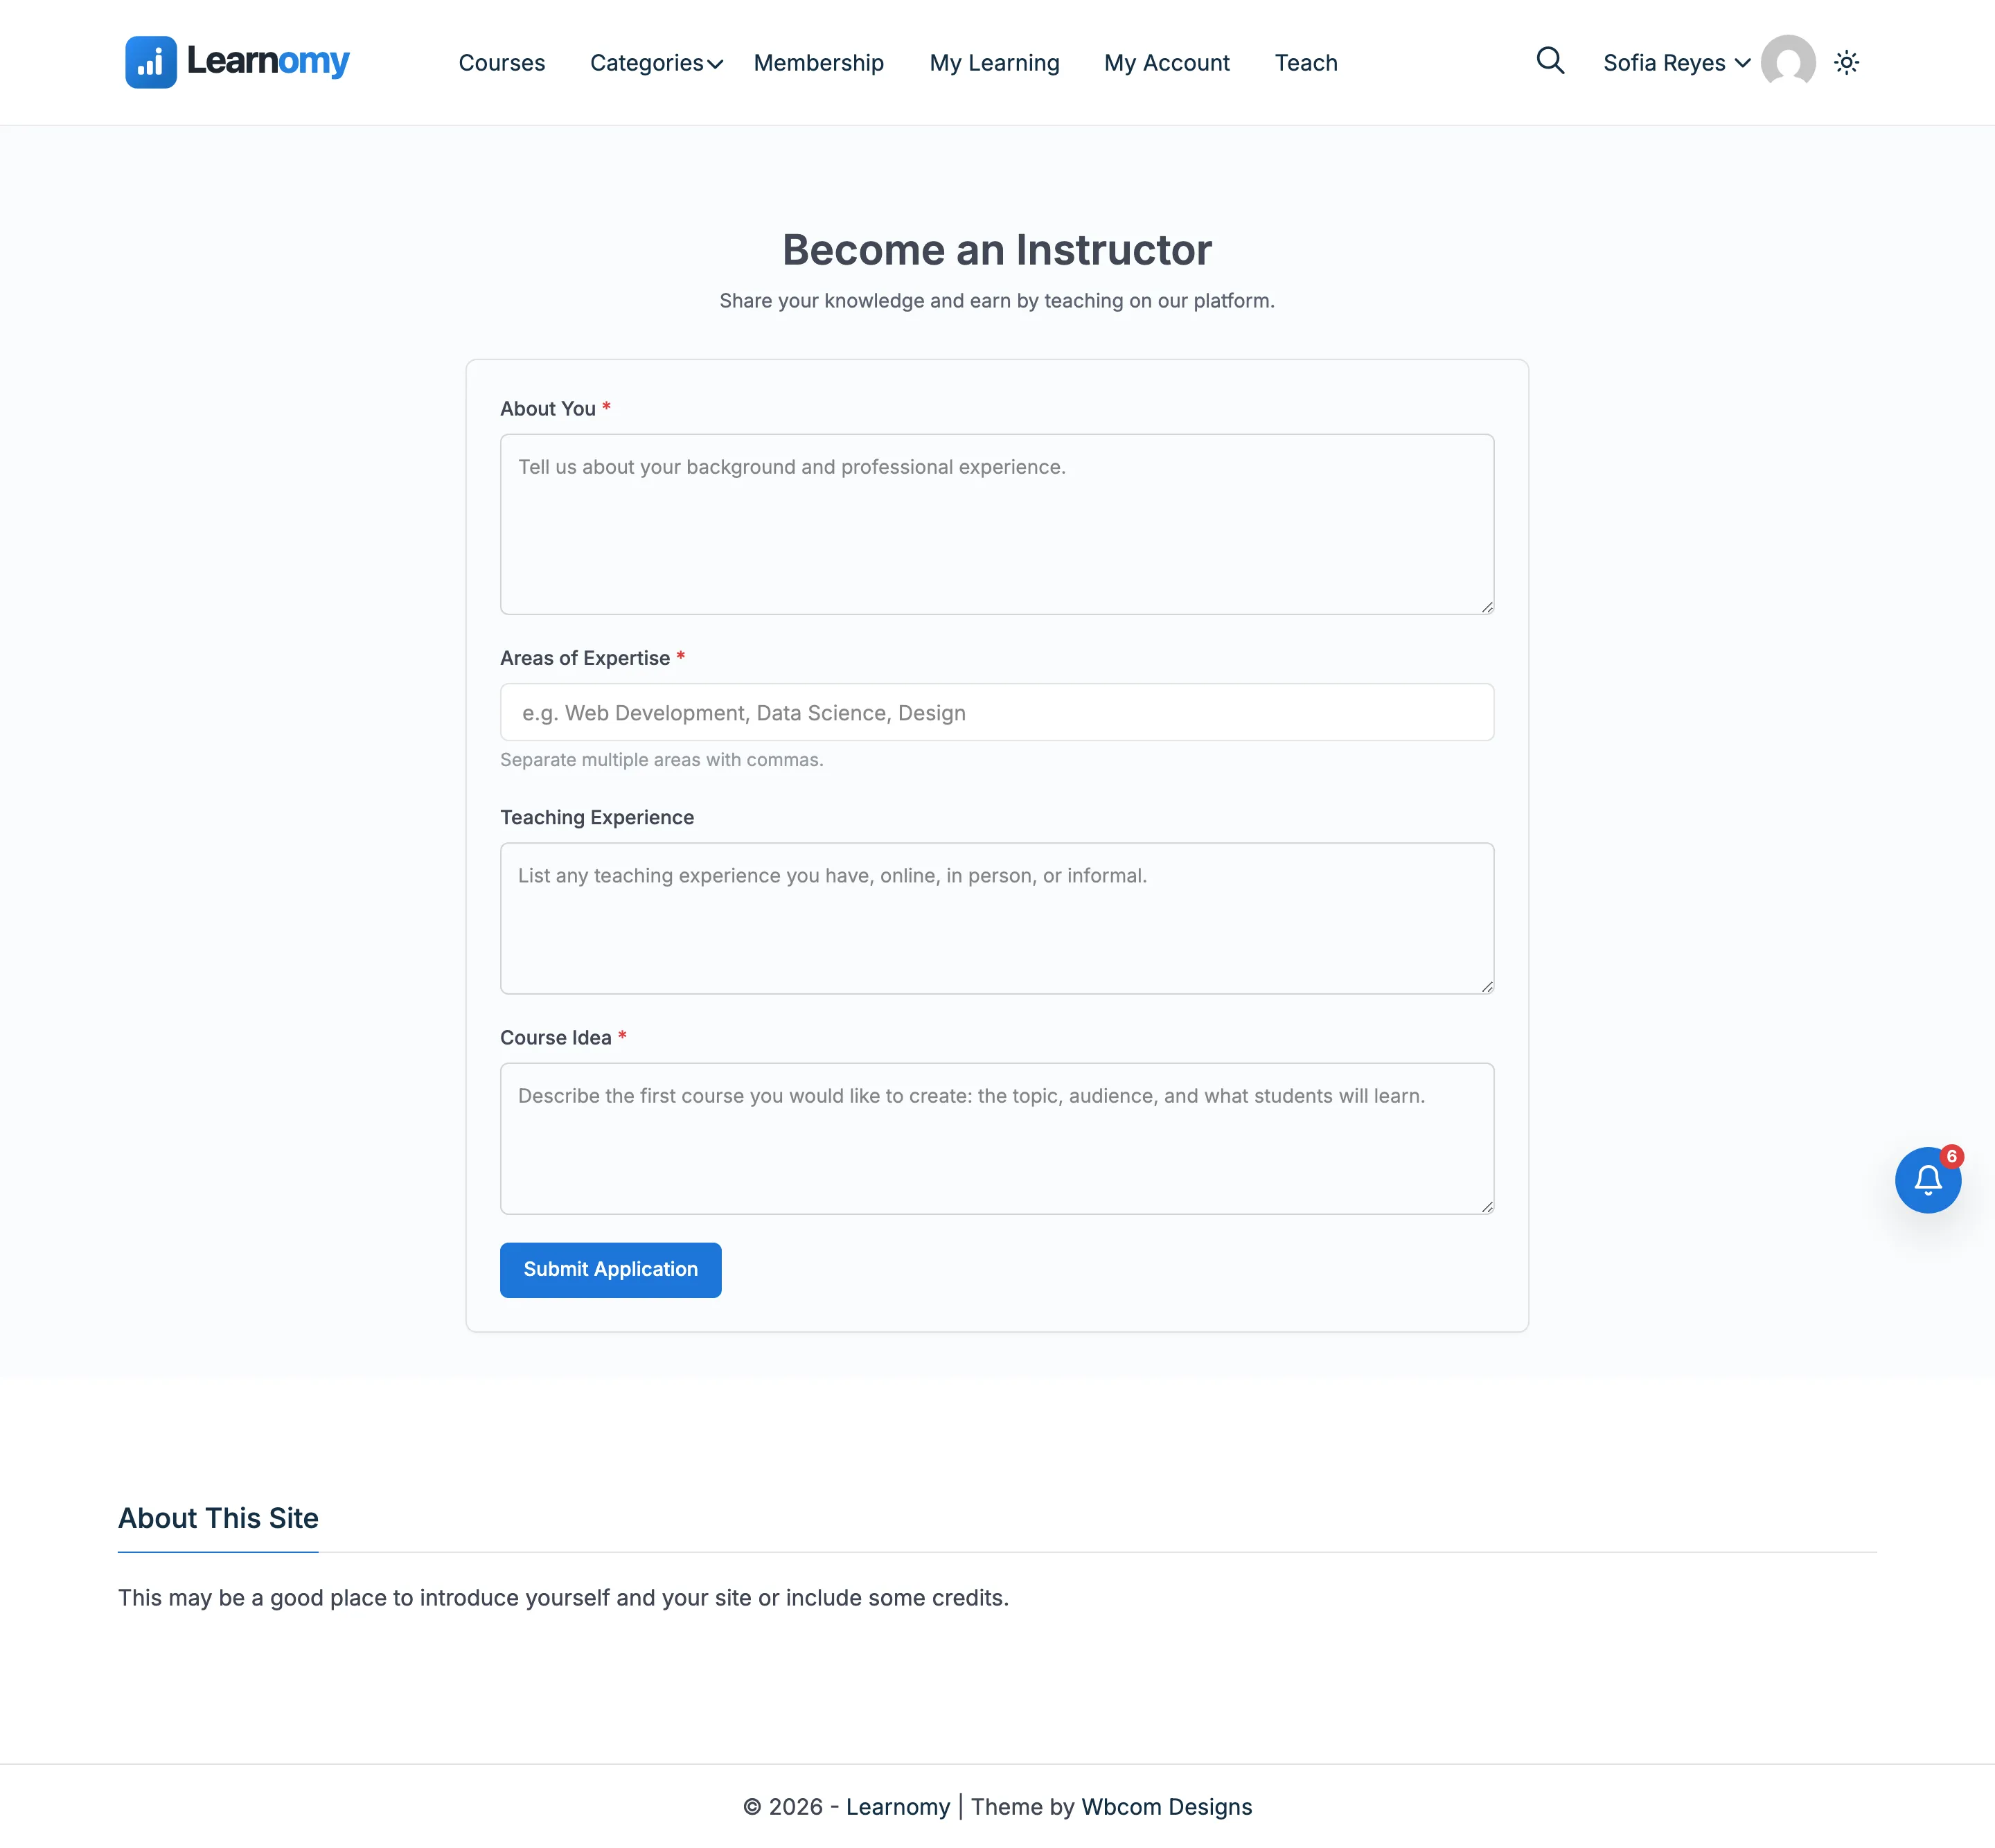
Fill in the required fields:
- About You - Your background and professional experience.
- Areas of Expertise - Separate multiple areas with commas (e.g., Web Development, Data Science).
- Course Idea - Describe the first course you want to create: topic, target audience, and what students will learn.
- Teaching Experience (optional) - Any past experience teaching online or in person.
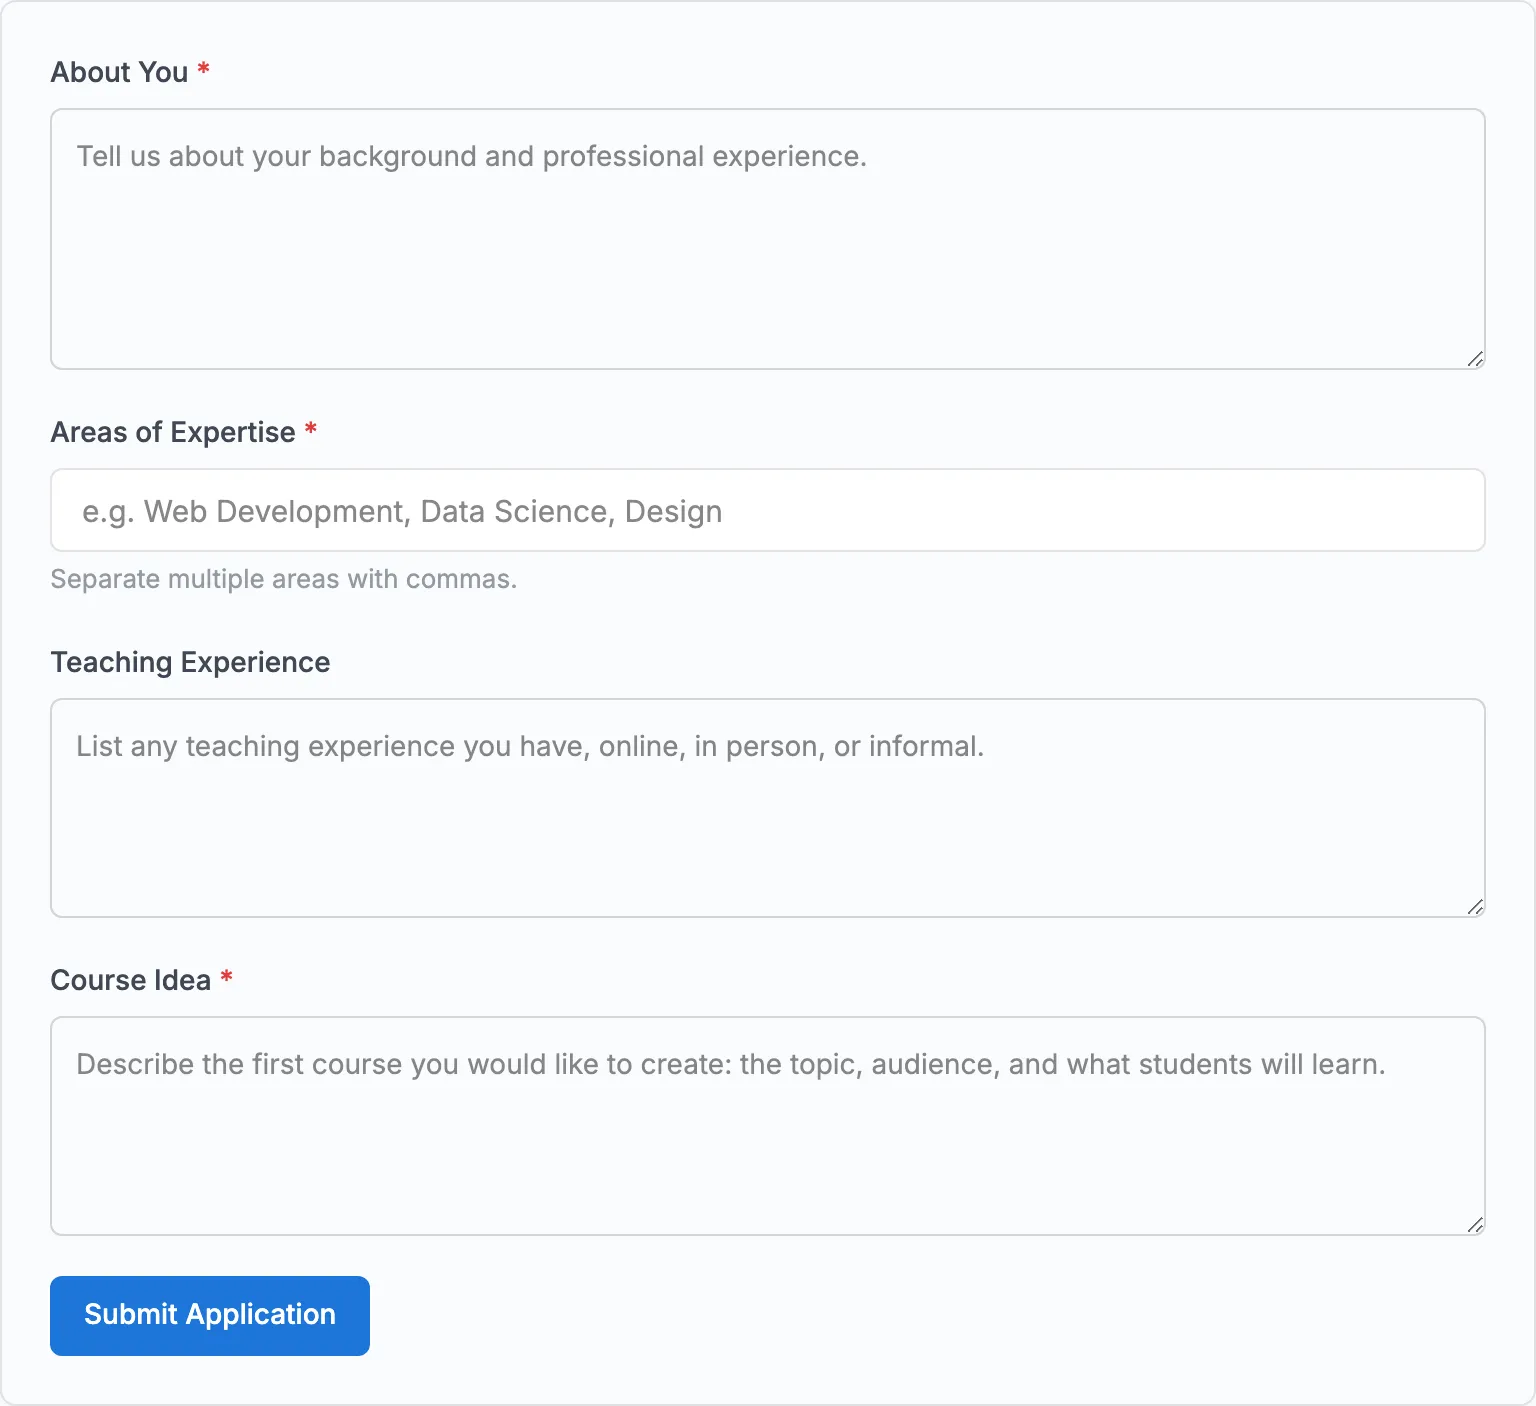
Click Submit Application.
After submitting, the page confirms that your application is under review. You will receive an email notification once a decision is made.
If your application was rejected
The page shows the rejection reason (if one was provided) and displays the form again so you can update your details and reapply.
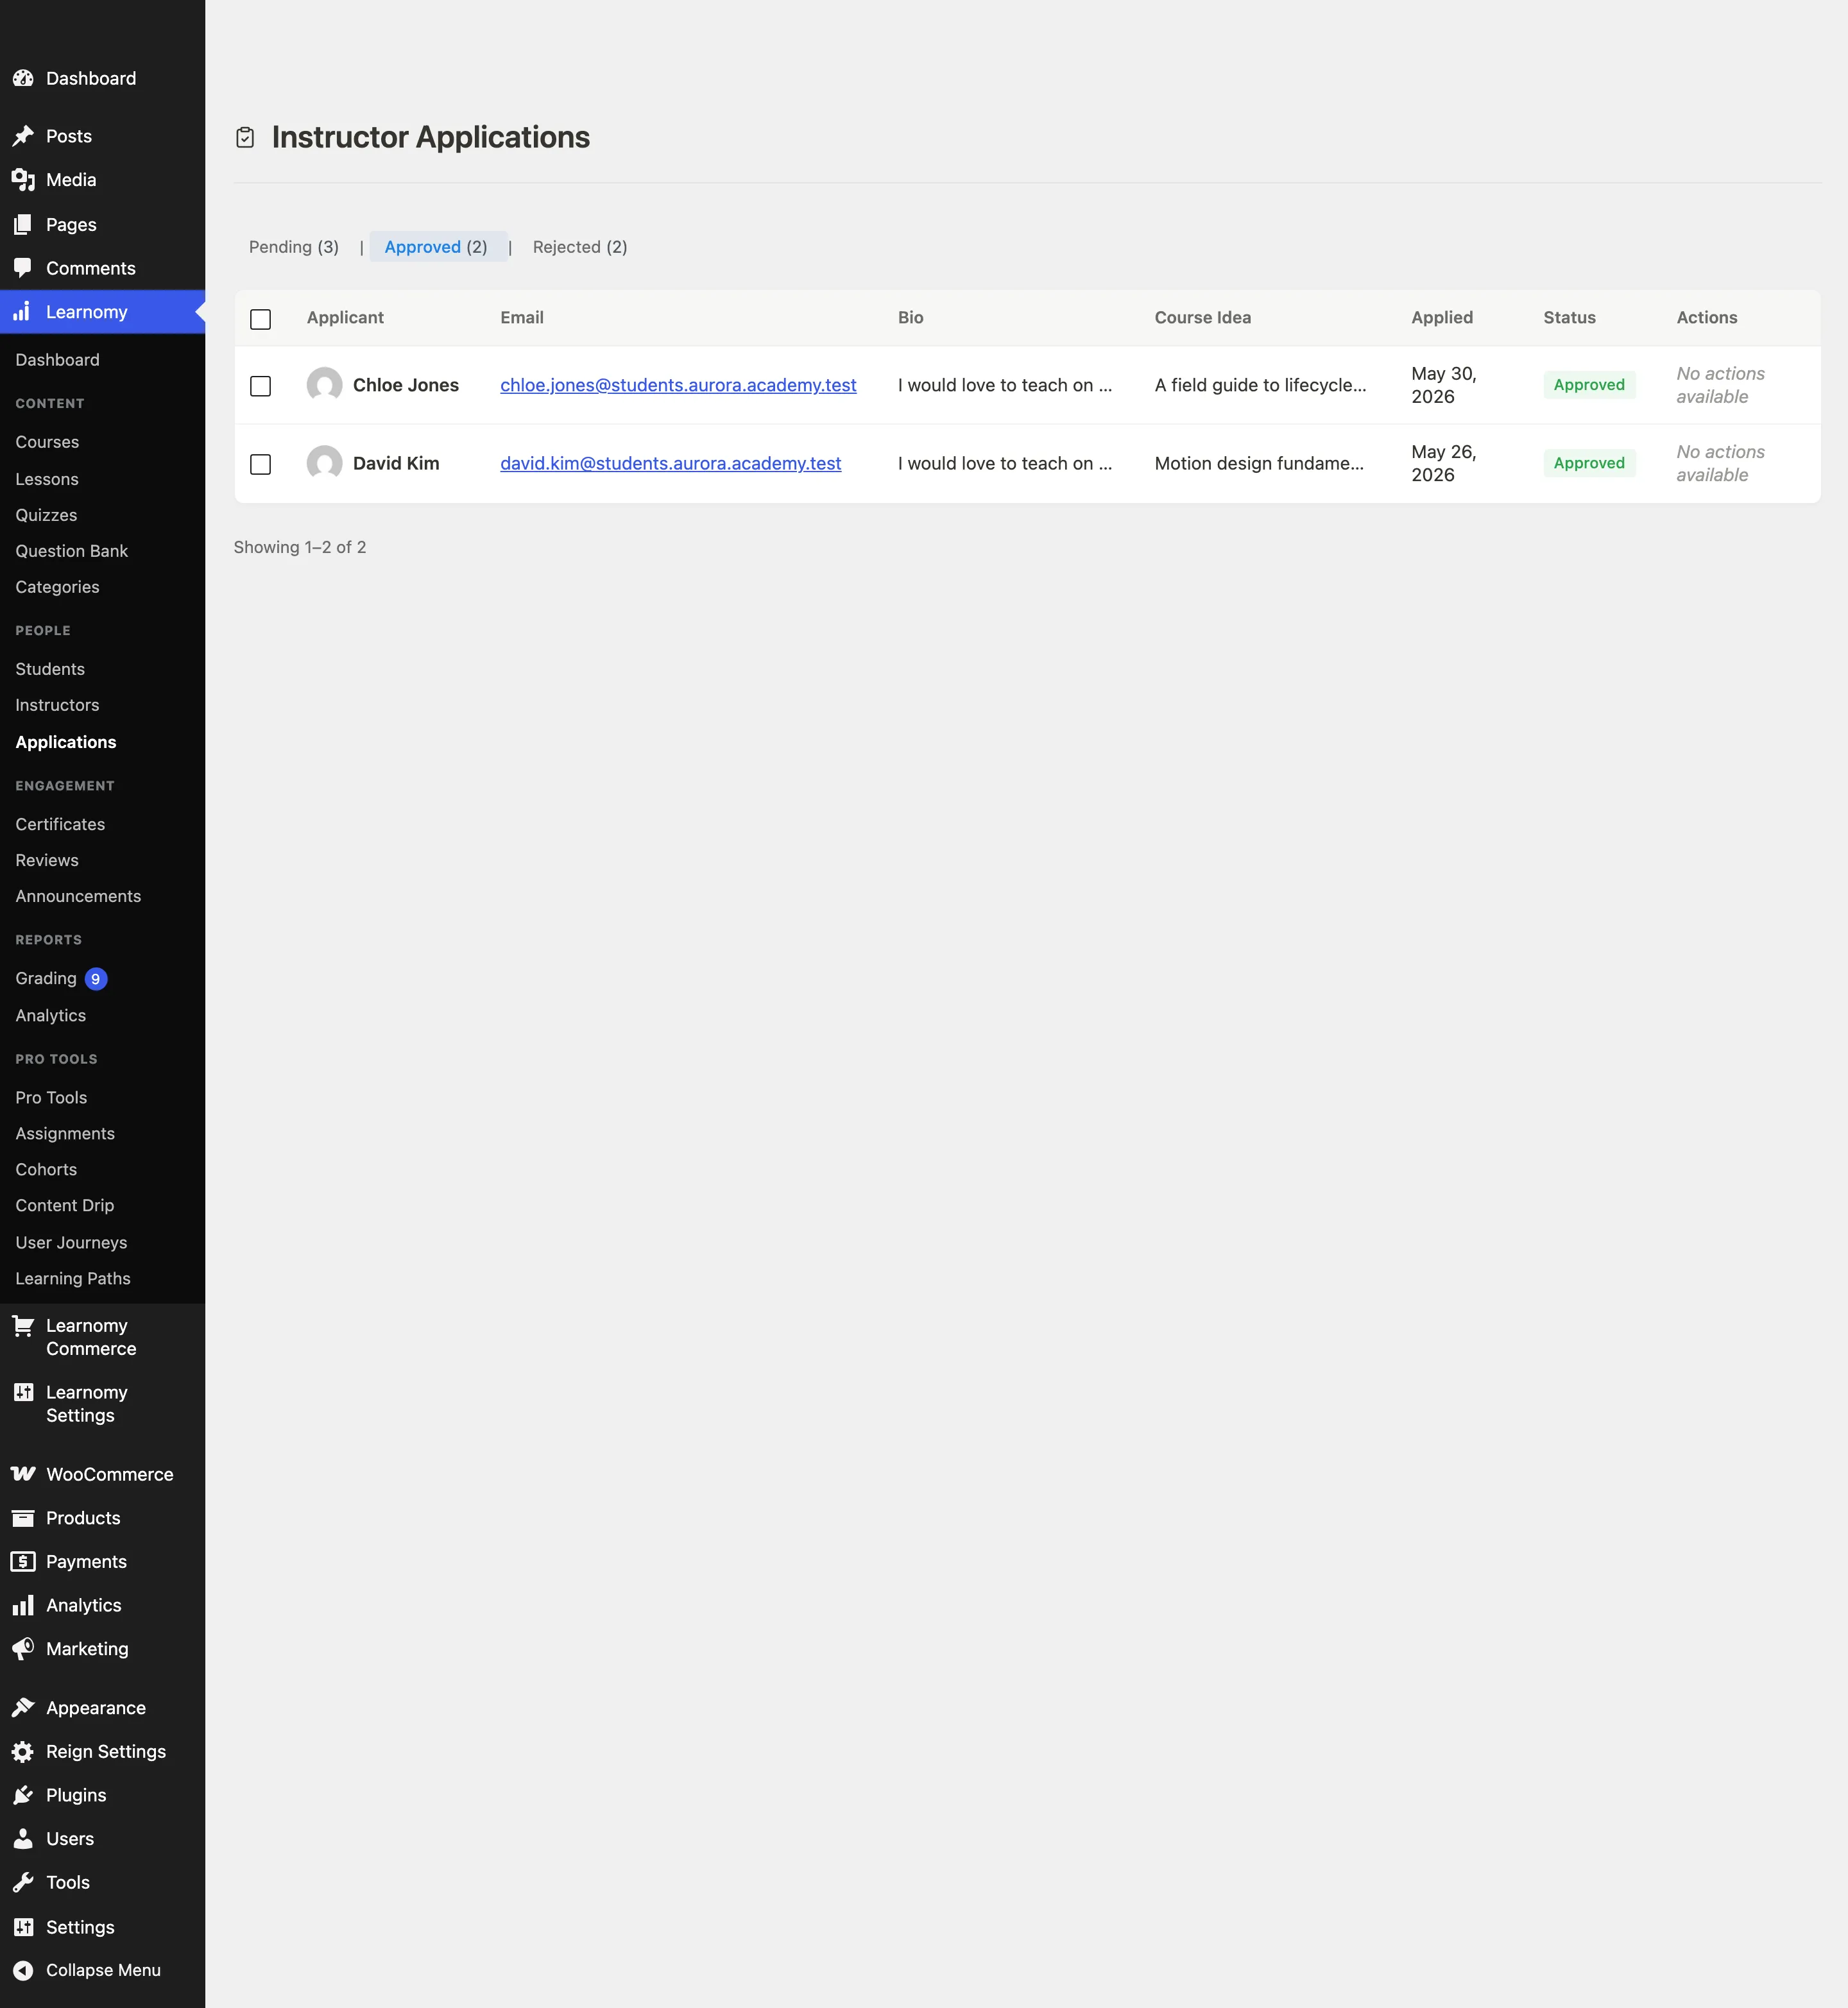
Admin: Reviewing Applications
Navigate to Learnomy > Applications. The queue opens on the Pending tab by default.
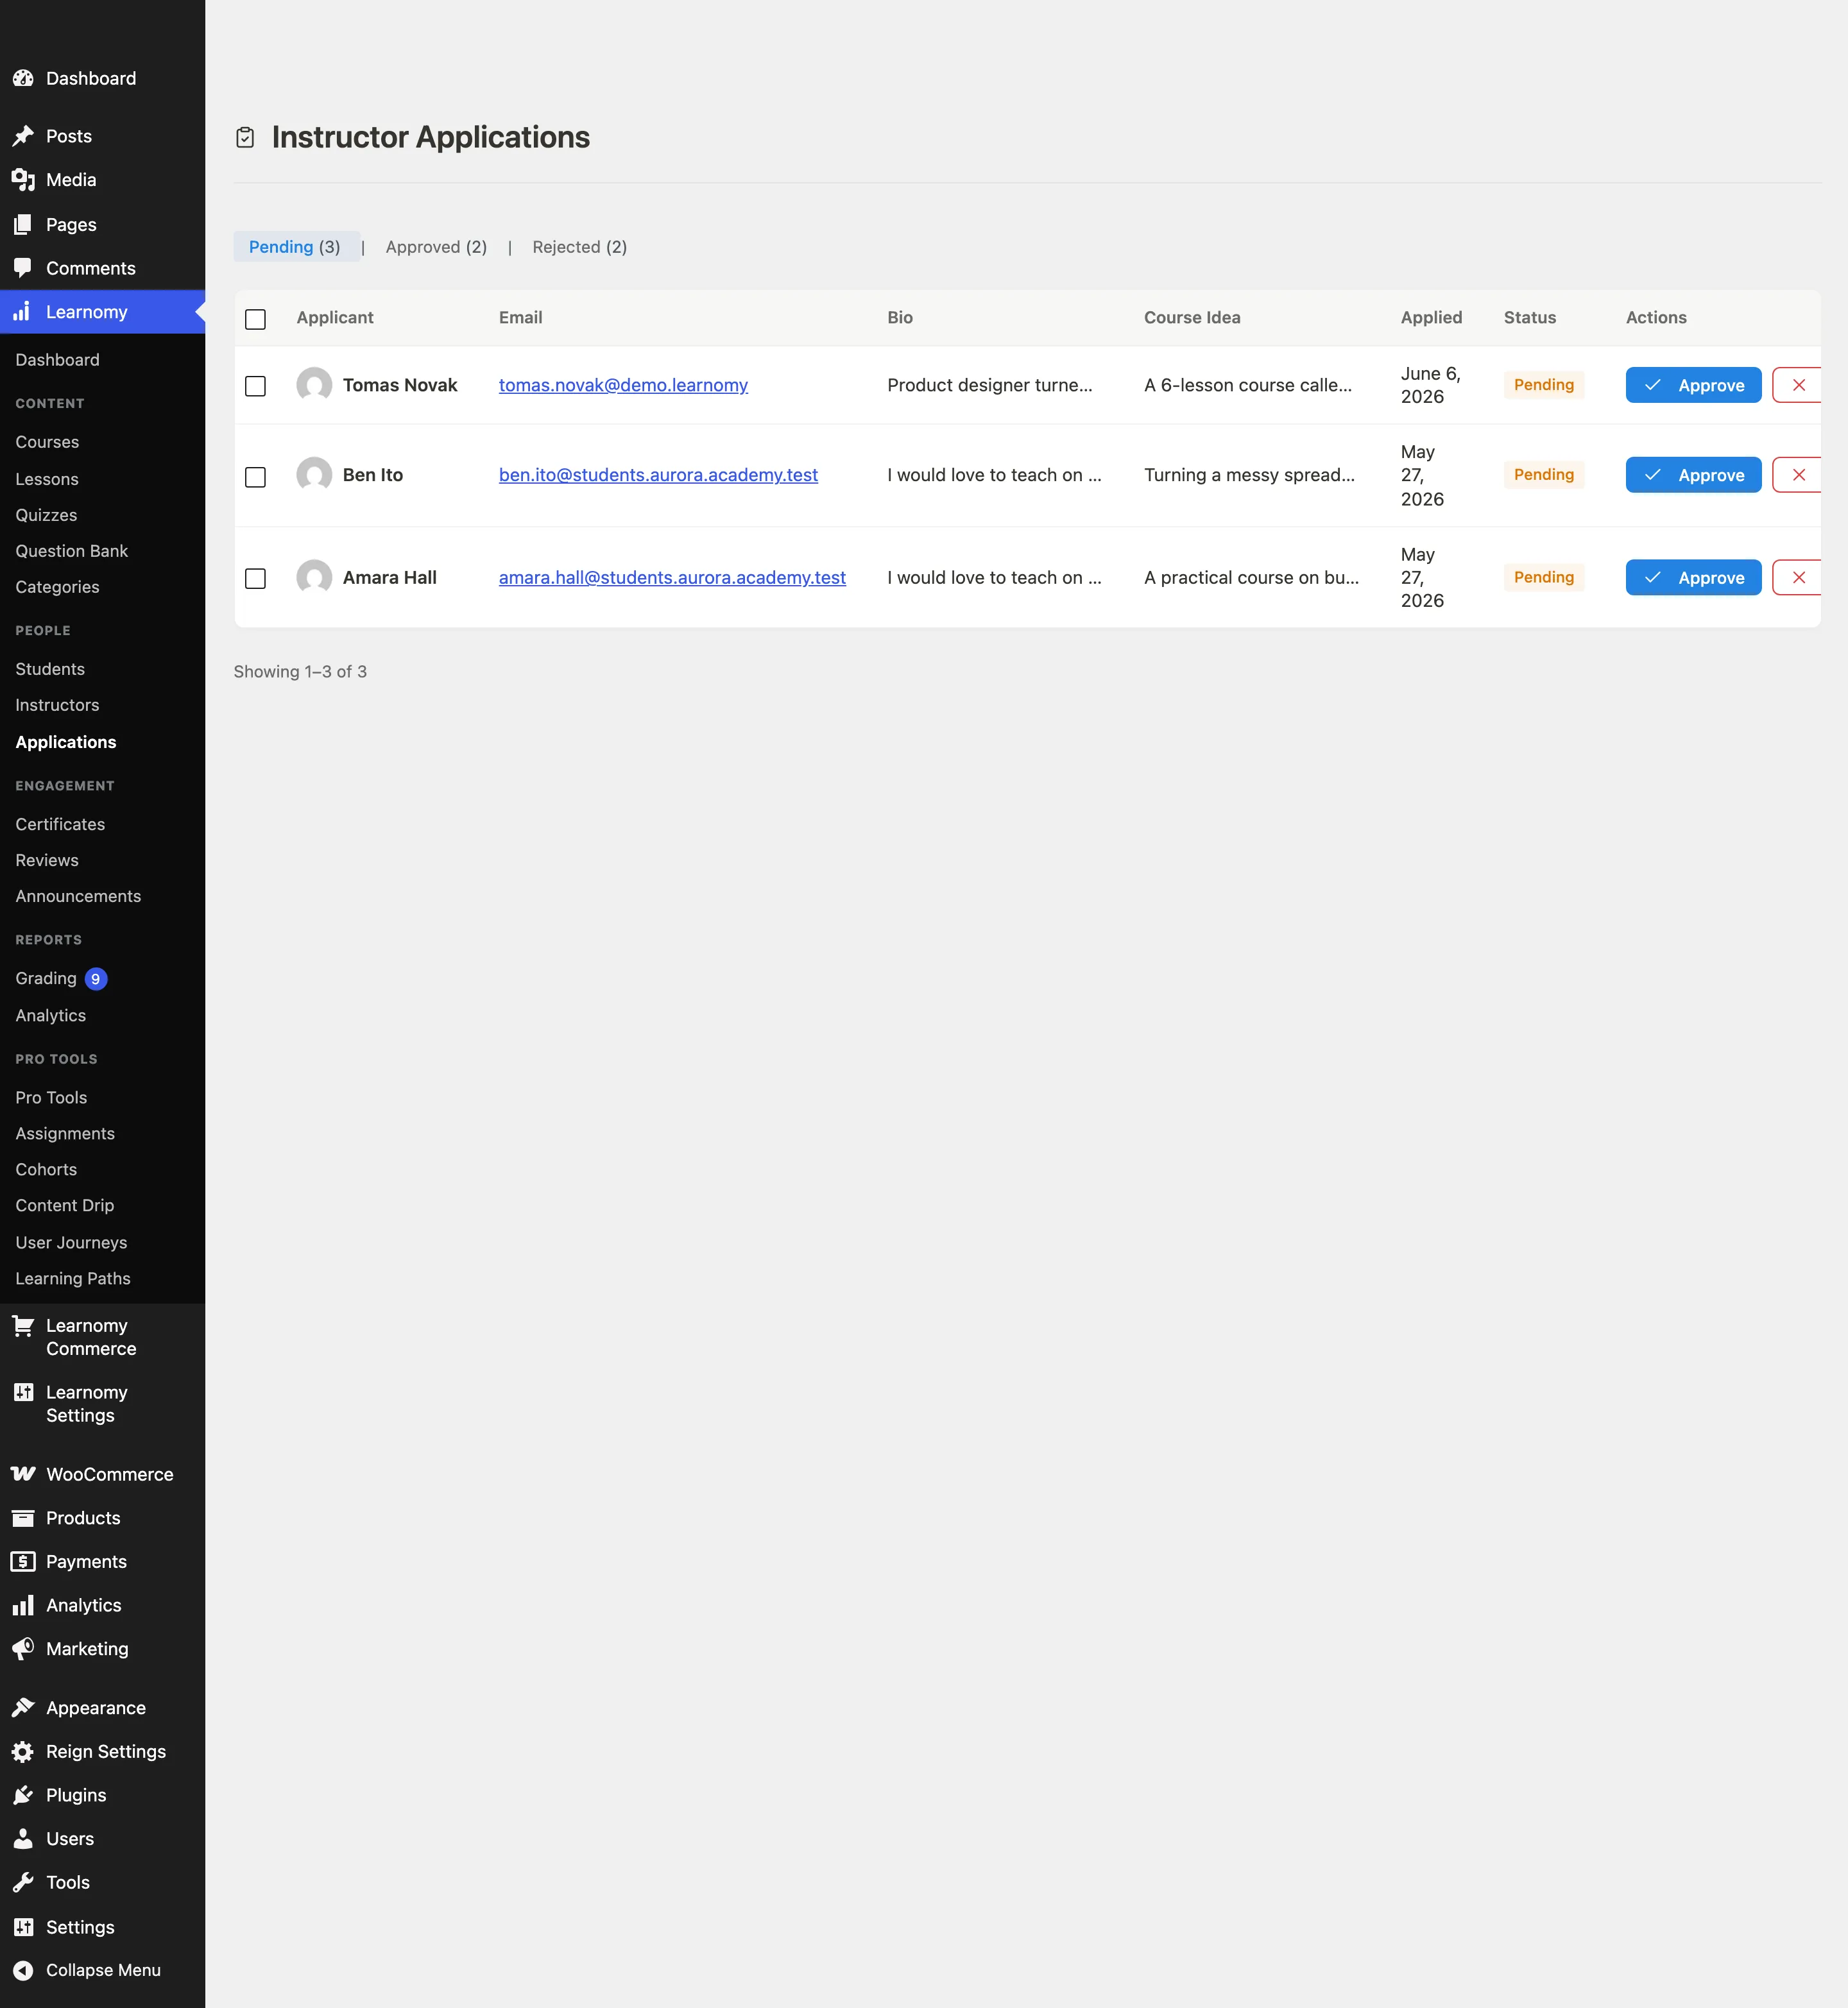
Status tabs
Three tabs filter the list:
| Tab | What it shows |
|---|---|
| Pending | Applications waiting for a decision |
| Approved | Applications that have been approved |
| Rejected | Applications that have been rejected |
Each tab shows a count in parentheses.

Reading an application row
Each row shows the applicant's name, email, a truncated bio, their course idea, the date they applied, and their current status.

Click the applicant's name to open the full application detail page, where the complete bio, expertise, teaching experience, course idea, and preferred payout method are visible.
Approving an application
Locate the application on the Pending tab.
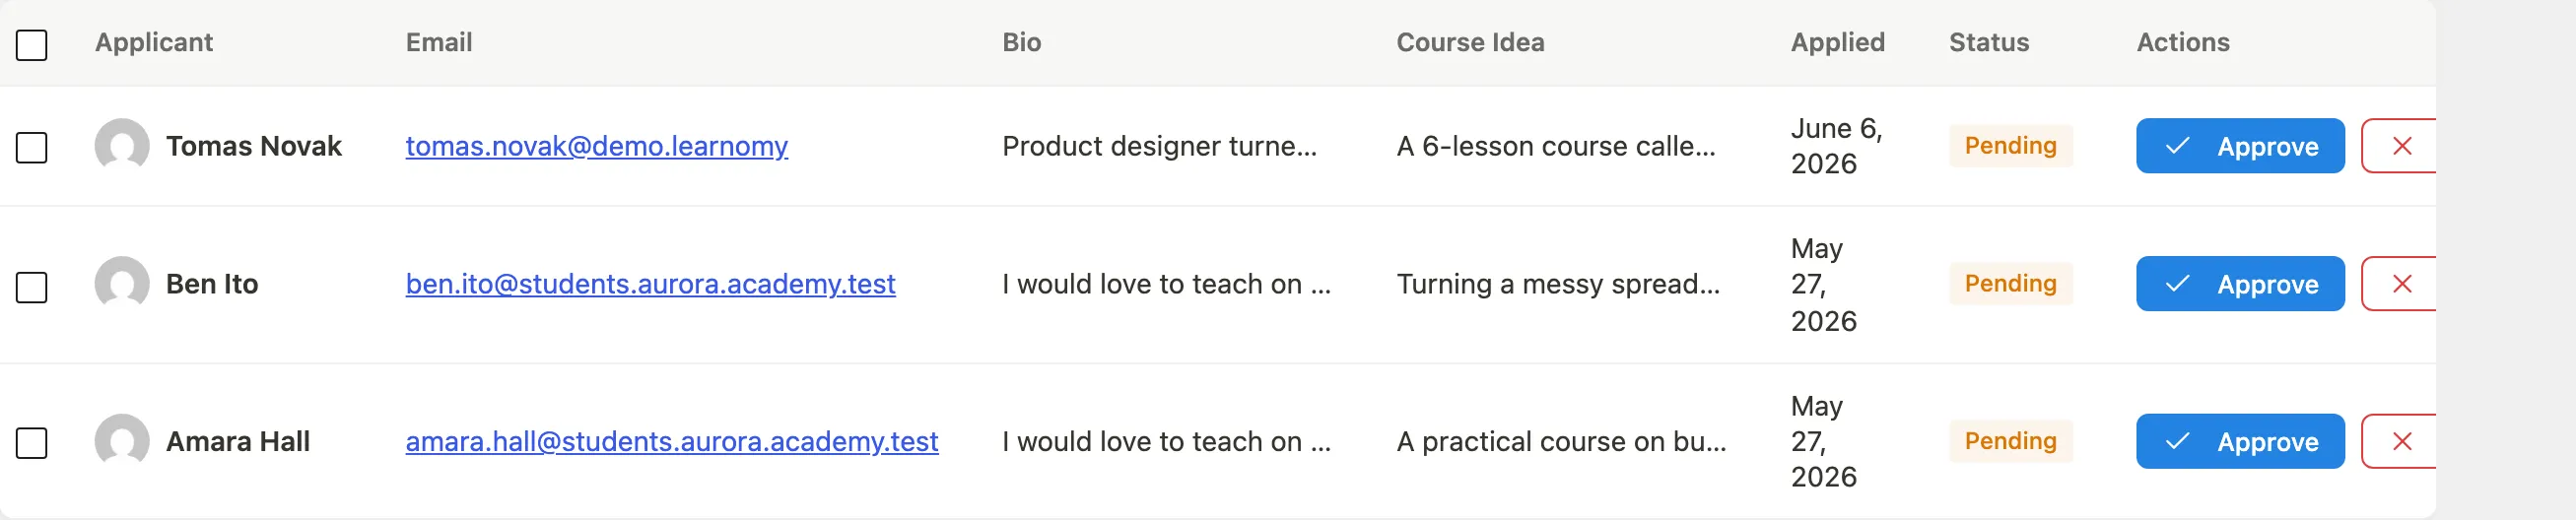
Click Approve in the Actions column. A confirmation prompt appears.
Confirm. The user's role is immediately upgraded to
lrn_instructor. The application moves to the Approved tab and a notification email is sent to the applicant.
Rejecting an application
Click Reject in the Actions column of a pending row.
Confirm. The application moves to the Rejected tab. If you entered a rejection reason, the applicant sees it on the
/become-instructor/page when they return.
Approved applications have no further actions available in the queue. Rejected applications are also read-only in the queue (the applicant can re-apply from the frontend, which creates a new pending entry).
Bulk actions
Check one or more rows, then choose Approve or Reject from the Bulk Actions dropdown and click Apply. The queue supports up to 20 rows per page; use the pagination controls at the bottom to reach older applications.
Tips
- The form includes a honeypot field to block automated bot submissions. No CAPTCHA is required.
- Once approved, an instructor authors courses and lessons in wp-admin editors (Learnomy > Courses), not on the frontend form.
- The application record is preserved even after approval, so you can view what the instructor originally submitted from their detail page in Learnomy > Instructors.