
Its response rate and working very well…
Its response rate and working very well I appreciate and am very happy to work with this webmaster.
Industry playbook
To start online personal training, pick one kind of client and one result, turn your sessions into a week-by-week program, set a price, and sell it from a site you own so you can see who is doing the work. You can start with videos you already film. You don't need a studio, a booking app or a new camera.
The business works in two halves. Choosing who you train and what you promise decides whether anyone buys. The program you build and the site that delivers it decides whether clients finish and tell their friends. This page covers both, then shows how to move videos you already post on YouTube into a paid program with Learnomy.
Key points
- Start narrow: one client type, one result, one program. "Knee strengthening after surgery" beats "fitness for everyone".
- Choose a format on purpose: a recorded program, live group sessions, one-to-one coaching, or a mix.
- Check what your certification, insurance and local rules say about remote training before you sell.
- Price it the way clients think: a one-off fee for a fixed plan, or a monthly plan for an ongoing library.
- A course on your own site shows you who stopped at week three. A YouTube playlist can't.
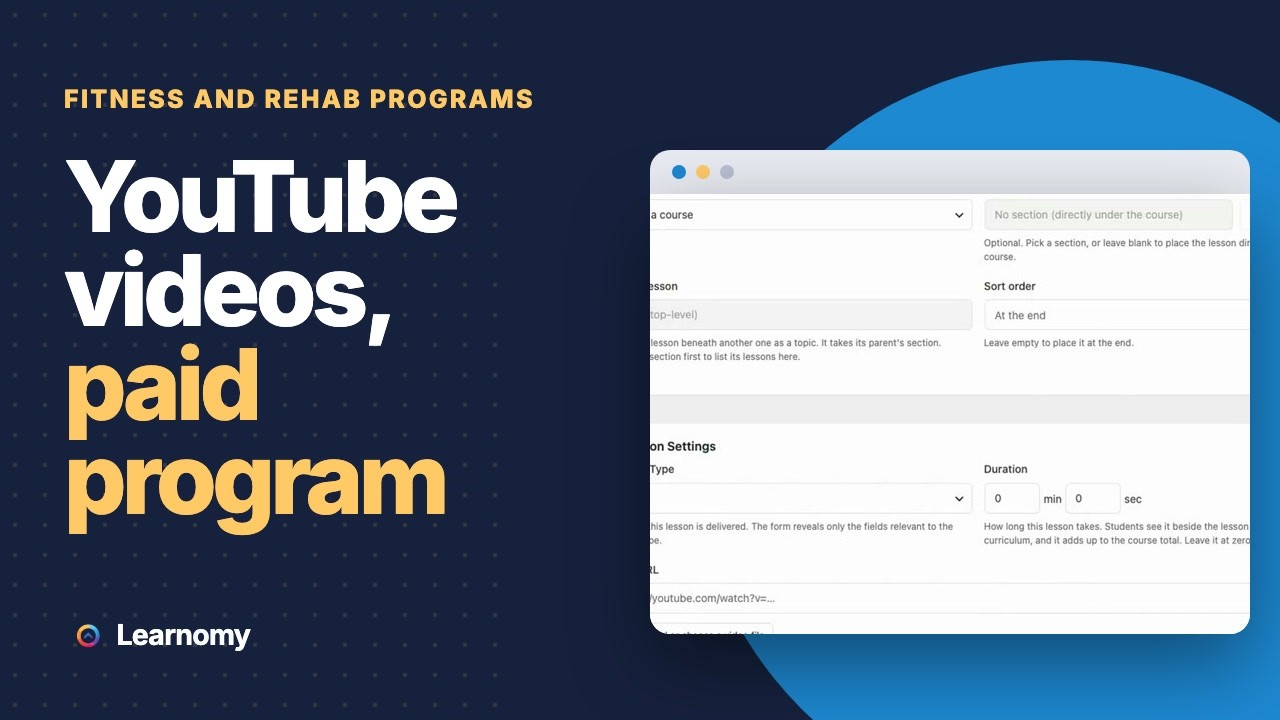
You film rehab, physio or training programs and post them on YouTube. Here's how to turn those videos into a paid program on your own WordPress site with Learnomy, without re-filming anything.
This is for physiotherapists, rehab specialists, strength coaches and personal trainers. People watch your videos, and some follow the whole program. But you can't charge for it properly, you can't tell who stopped at week three, and anyone with the link can pass it to a friend.
It suits a solo practitioner selling a twelve-week knee program as well as a clinic giving patients a home exercise plan. A coach with a monthly training library fits the same way. If you run a class-based studio with a live timetable, the fitness or yoga studio page covers that side.
Here is the order we'd work in. Each step is small, and none needs a launch budget.
| Format | What the client gets | Good fit |
|---|---|---|
| Recorded program | Videos and written cues, any time | Low-cost, scalable plans |
| Live group sessions | A set time with you, over a call | Accountability and community |
| One-to-one coaching | Personal plans and check-ins | Higher-touch, higher-priced work |
| Hybrid | A recorded program plus a weekly call | Most trainers, once they have clients |
Learnomy handles the first two and the hybrid well. A recorded program is a course with sections and lessons. A live session is a lesson that holds your Zoom, Google Meet or Teams link, a start time and a length, and clients see a countdown and then a join button. Learnomy doesn't host the call itself.
It doesn't do one-to-one booking. If you sell assessments or check-in calls, use a booking plugin, or a services plugin such as WP Sell Services, which handles offers, orders and payouts. It's a separate plugin from the same team.
Less than most people expect.
| You need | What it does |
|---|---|
| A phone or camera | Films the sessions |
| Decent audio | Clients forgive average video, not muffled instructions |
| A WordPress site | Hosts the program and the checkout |
| A way to take payment | Stripe or PayPal, with Learnomy |
| A video home | YouTube, Vimeo or Loom for the files |
| A way to email clients | Receipts, invites and reminders |
The running costs are hosting, a domain, the payment processor's fee on each sale, and the Learnomy licence. Learnomy takes no share of your sales. For the numbers on a licence, see the pricing page.
Two small things catch new trainers out. Install an SMTP plugin so invites and receipts reach inboxes. And decide where your videos live before you build, because a long video file is heavy for ordinary hosting.
If you already film training sessions and post them on YouTube, the rest of this page is the fastest route. You keep the videos where they are, put them in a program on your own site, and charge for access.
YouTube is a great place to be found. It's a poor place to run a program people pay for, for a few plain reasons.
An unlisted video is still a public link. Anyone who has it can watch, and nothing stops it being pasted into a group chat. There's no way to say "this person paid, this person didn't". A playlist also sorts by whatever order you uploaded, not the order a client should follow, and it can't hold week four back until someone has done week three.
You also can't see much. View counts tell you how many times a video played, not whether a client finished their second week of shoulder exercises. For rehab that matters. The program only works if people do it, and a practitioner wants to know when someone has gone quiet.
None of this means leaving YouTube. Most practitioners keep a channel for short free clips that bring people in, and put the full program behind a course on their own site. The channel stays your shop window, and the course is what people pay for.
Install Learnomy and run the setup wizard. If you work alone, switch on I am the only instructor (solo mode) in the Academy Mode card under Learnomy Settings > Settings > General. That hides the screens meant for sites with many teachers.
Then build the program:
A twelve-week program reads far better as Week 1 to Week 12, with each session's instructions next to its video, than as a playlist sorted by upload date. Clients also see where they are: the course outline shows which sessions they've done.
You can also upload a video file from the WordPress Media Library into a lesson, but long video files are heavy on ordinary hosting. For most practitioners, leaving the video on YouTube or moving it to Vimeo is the better home, and the video course guide explains the choice in detail.
Rehab programs often shouldn't open all at once. A client who jumps to week eight on day one can do more harm than good. You have two ways to pace it.
A date on a lesson. Any lesson can have an available date, so it opens on that day. That suits a program that starts for everyone on the same date, or a single session you want to hold back.
Content drip. Learnomy's drip opens lessons a set time after each client enrolls, on a fixed date, or after they complete an earlier lesson. "Week 2 opens seven days after you join" is exactly what drip does, and each client gets their own timeline. The content drip guide shows the settings.
If you'd rather leave everything open and trust clients to follow the order, that's fine too. Many maintenance and mobility libraries work that way.
This is where a course on your own site earns its keep over a playlist.
Together these give you what YouTube never could: a quiet client gets a nudge from the system, and you know who needs a personal call.
Pick the price model per program. All of these are built in.
A twelve-week rehab plan with a start and an end suits a single price. Set it in the course's Pricing and Access panel, connect your own Stripe or PayPal account under Learnomy Settings > Payments, and the built-in checkout does the rest. The processor's fee is the only deduction from each sale.
A maintenance or strength library that clients dip into each week suits a membership. Under LMS Commerce > Memberships you can put a monthly and an annual price on the same plan, add a free trial, and let clients cancel in one click from their account. One plan can include several programs.
If you're a clinic giving patients a home program as part of their care, you may not want a public price at all. In Pricing & Access, choose Invite only (you add the students). Nobody can buy or enroll themselves, and you add each patient by email from the course's Enroll a student card. For a group, Bulk enrol from a list (CSV / emails) takes up to 500 addresses at a time. Anyone without an account gets one, with an email to set a password.
Under LMS Commerce > Coupons, a code can carry a discount, a usage cap and an end date. A 100% code enrolls someone straight away without payment, which suits a client you've already billed through your clinic.
You can mix these, such as a one-off price for the knee program next to a monthly plan for the strength library.
Moving the course to your own site controls who can open the lesson. The video itself is still wherever it's hosted, so choose that home on purpose.
| Where the video lives | How shareable it is | Good for |
|---|---|---|
| YouTube, unlisted | The video link still works for anyone who has it | Free tasters, or low-stakes programs |
| Vimeo, restricted to your domain | Plays only on your site; hidden from Vimeo search | Most paid programs |
| Played through MediaShield | Needs a login; shows the viewer's name and IP; blocks downloads; limits streams per login | Premium programs where shared logins are a real worry |
MediaShield is a separate Wbcom plugin for protected video on WordPress. With it active, playback needs a login, a watermark shows the viewer's details, and a concurrent-stream limit (two by default) makes one login hard to share around a gym. Nothing on the web stops someone filming a screen with their phone, and we won't pretend otherwise. What these steps do is stop the casual copy-and-paste that a public link invites.
Some programs mix recorded sessions with a live class, such as a weekly group mobility session or a Q&A. Add a Live lesson, paste the Join link from Zoom, Google Meet or Teams, and set Starts at and how long it runs. Clients see a countdown before it starts and a join button while it's on. Afterwards you can point them to the recording.
Learnomy doesn't host the call itself. It links to the meeting tool you already use. There's no repeating event either, so a weekly class needs its own lesson each week, or its start time updated.
If your clinic has several physios or coaches, each can be an instructor with their own programs. Instructors see their own courses and their own clients in their dashboard, and the admin sees everyone. Leave solo mode off for this.
If practitioners are paid a share of their program sales, Learnomy can split each sale between the clinic and the instructor, with a default rate, per-course overrides and per-instructor rates. If everyone is salaried, you can ignore commissions entirely.
Learnomy delivers and sells your programs. It isn't a clinical records system, and it shouldn't hold one.
Learnomy registers with the standard WordPress privacy tools, so a client's export or erase request covers the learning data it holds. Your privacy policy should still say what the site collects and why.
Can I keep my YouTube channel? Yes. Keep short free clips there to bring people in, and link them to the full program on your site.
Do I have to re-upload my videos? No. Paste each YouTube or Vimeo link into a lesson and it plays inside the lesson. You can move the paid sessions to a domain-restricted Vimeo library later.
Will I know whether a client is keeping up? Yes. Course progress shows per client, the instructor dashboard lists clients with no progress in 14 days, and a reminder email goes out on its own after the inactivity window you set.
Can a patient start the program without paying? Yes, if you set the course to invite-only and add them yourself, or give them a 100% coupon code. Both enroll them without a checkout.
Can each week open on its own schedule? With content drip, lessons can open a set number of days after each client enrolls. A lesson can also have an available date that opens it for everyone on that day.
Is this suitable for clinical records? No. Learnomy delivers and sells programs. Keep assessments and patient notes in your clinical software.
Everything above runs on your WordPress server. Everything here is part of Learnomy.
Sandbox demo
Enter your name and email and we build you a private copy of the Learnomy demo site. Nothing to install, nobody else sees what you change, and the copy lasts about four hours.
Prefer to watch first? See the tutorials.
What to try in the demo
From the same team
Learnomy runs on its own. These are separate plugins from the same team, for when the course business grows past courses.
 WP Sell Services A separate plugin for selling services with offers, orders and payouts. Use it for one-to-one assessments or check-in calls, since Learnomy does not book sessions. Visit WP Sell Services →
 Eventonomy A separate plugin for events and RSVPs, for in-person workshops, clinics and open classes you run beside your programs. Visit Eventonomy →
Its response rate and working very well I appreciate and am very happy to work with this webmaster.
I've been developing a relatively complex website for my business, and my development experience is pretty limited. As expected, I ran into a number of difficulties, and ach time, the Wbcom team helped me resolve my issues quickly and patiently. I can't recommend their products and support enough!
I recently had a fantastic experience with the Wbcom Designs support team. They were incredibly prompt, warm, patient, and friendly as they helped me resolve an issue with my website. I truly appreciate the complexity of troubleshooting website-related issues, as each one is unique, and users often…
Great support; the issue was resolved perfectly well.
Fantastic 6 star support. I wanted to setup a membersite and tried many solutions. I contacted Wbcom for BuddyX and tried the theme with Buddypress. I am not a webdesigner or a coder, but had a requirement that was not standaard. I contacted WBcom and Pallavi helped me from start to finish with…
Great way of support! Thanks a lot! Direct responding, open for questions and very fast to the right solution!
Fast Respond & Troubleshooting With technical insight
Quick response. Solve my problem
just wanted to let you know how pleased I am with his work. Shasank was easy to work with and his communication skills were excellent. Please reward him for being a fine employee. Wayne Francis
I have already purchased themes and plugins worth over ₹65,000 from wbcomdesigns, and my experience has been nothing short of amazing. Their support is exceptional. Both Shivani Kashyap and Camilia Scott provide incredibly fast responses and have resolved any issues I encountered with my website…